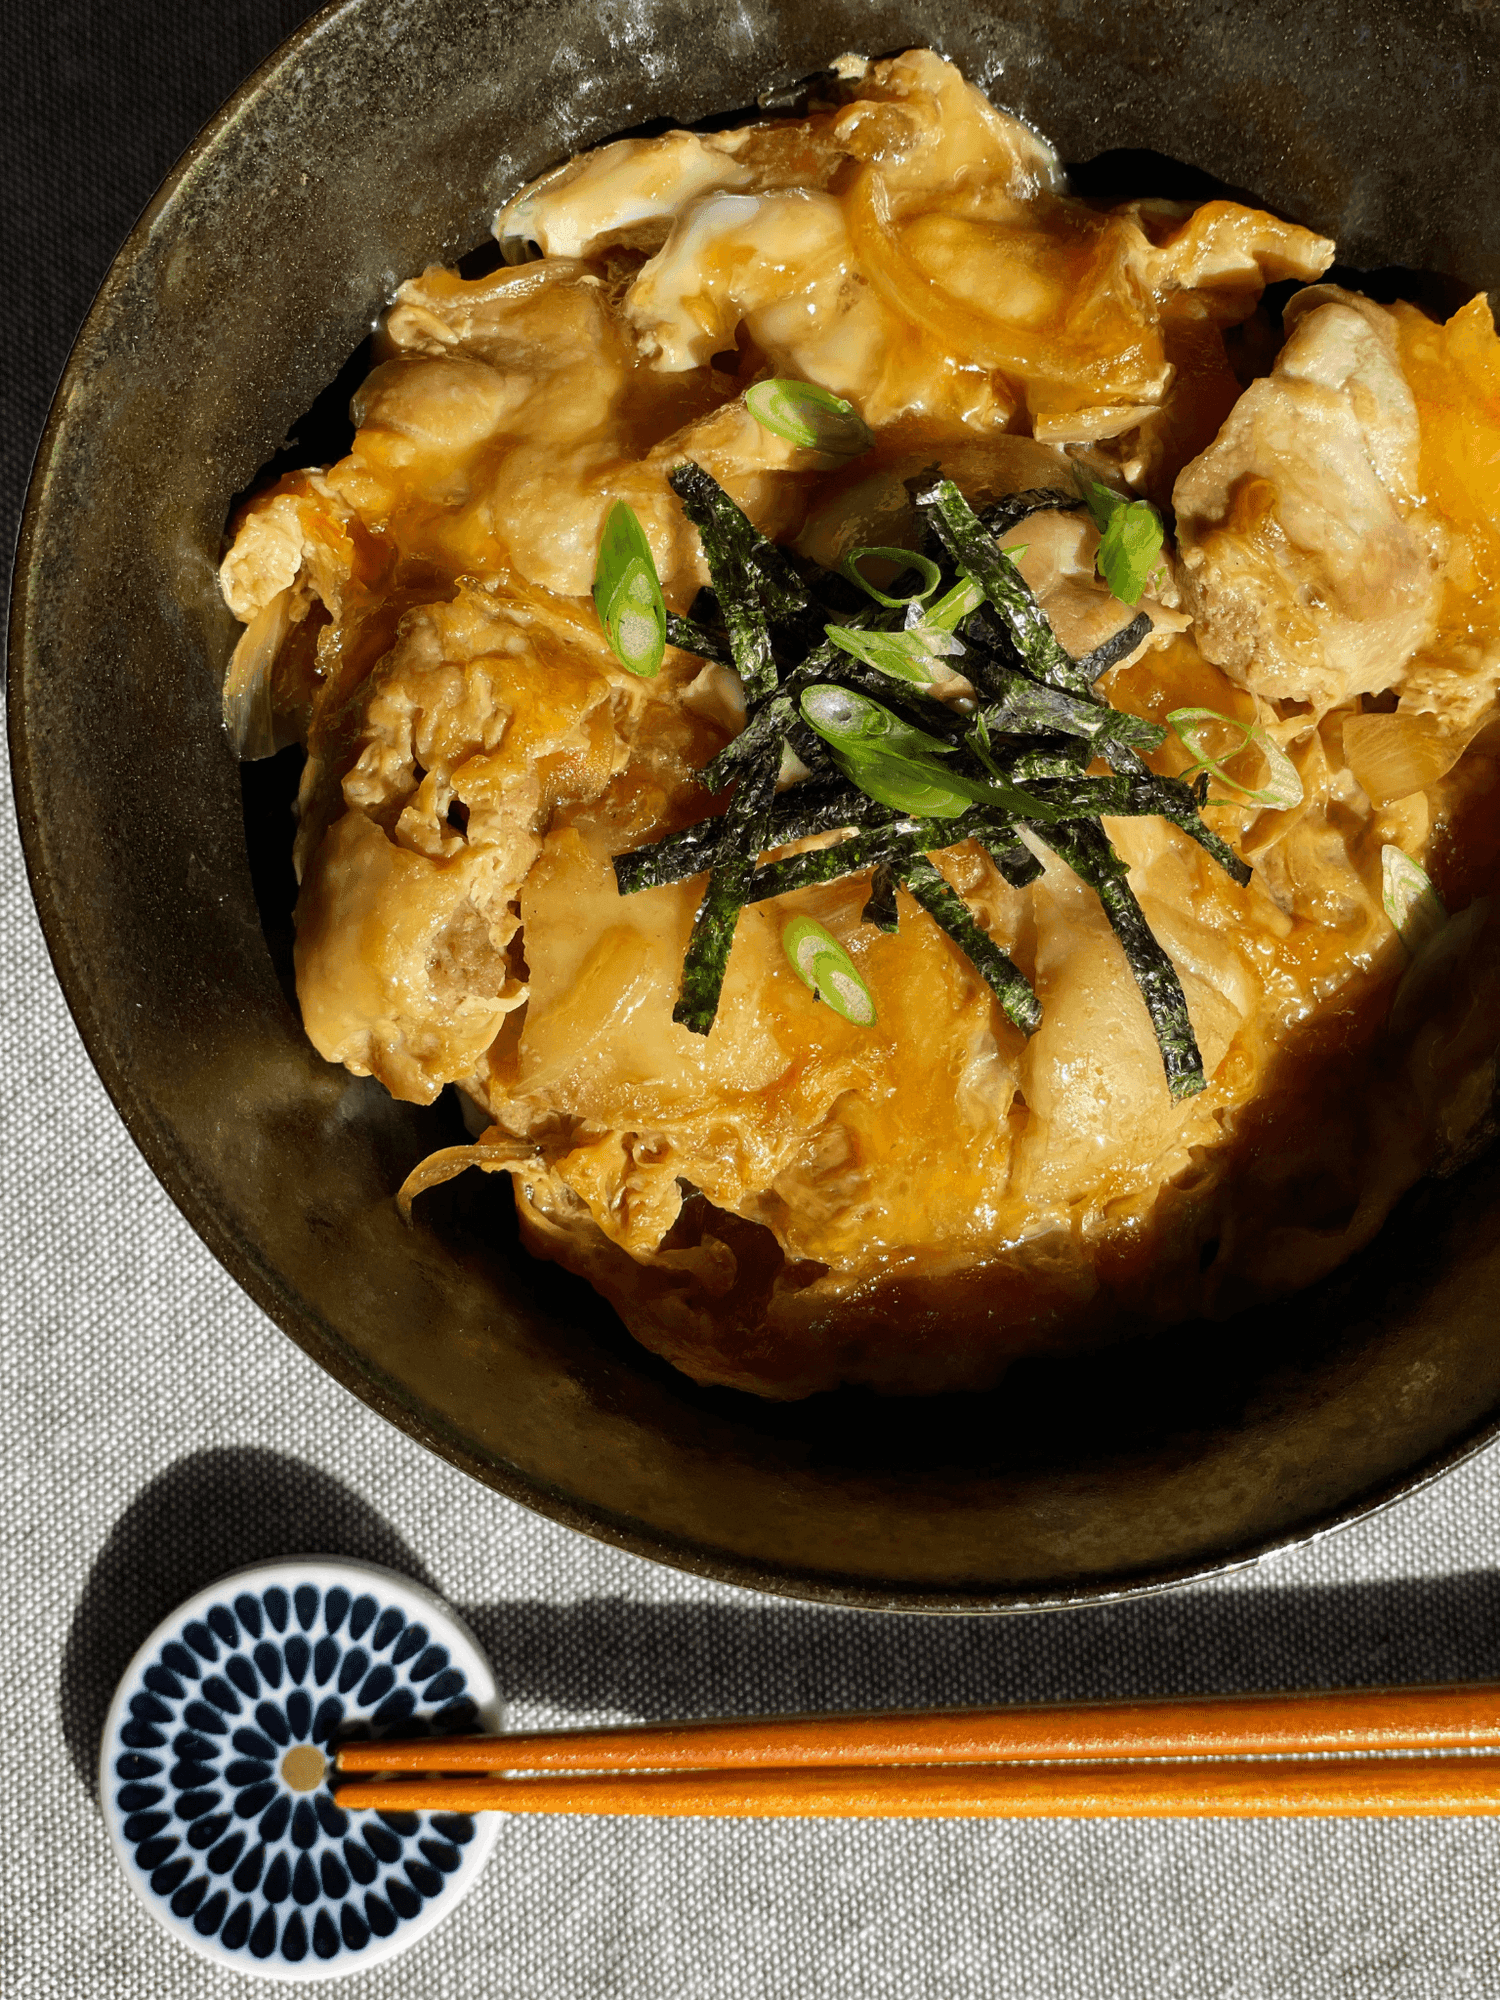
Oyakodon (Japanese Chicken and Egg Rice Bowl) - Easy Weeknight Recipe
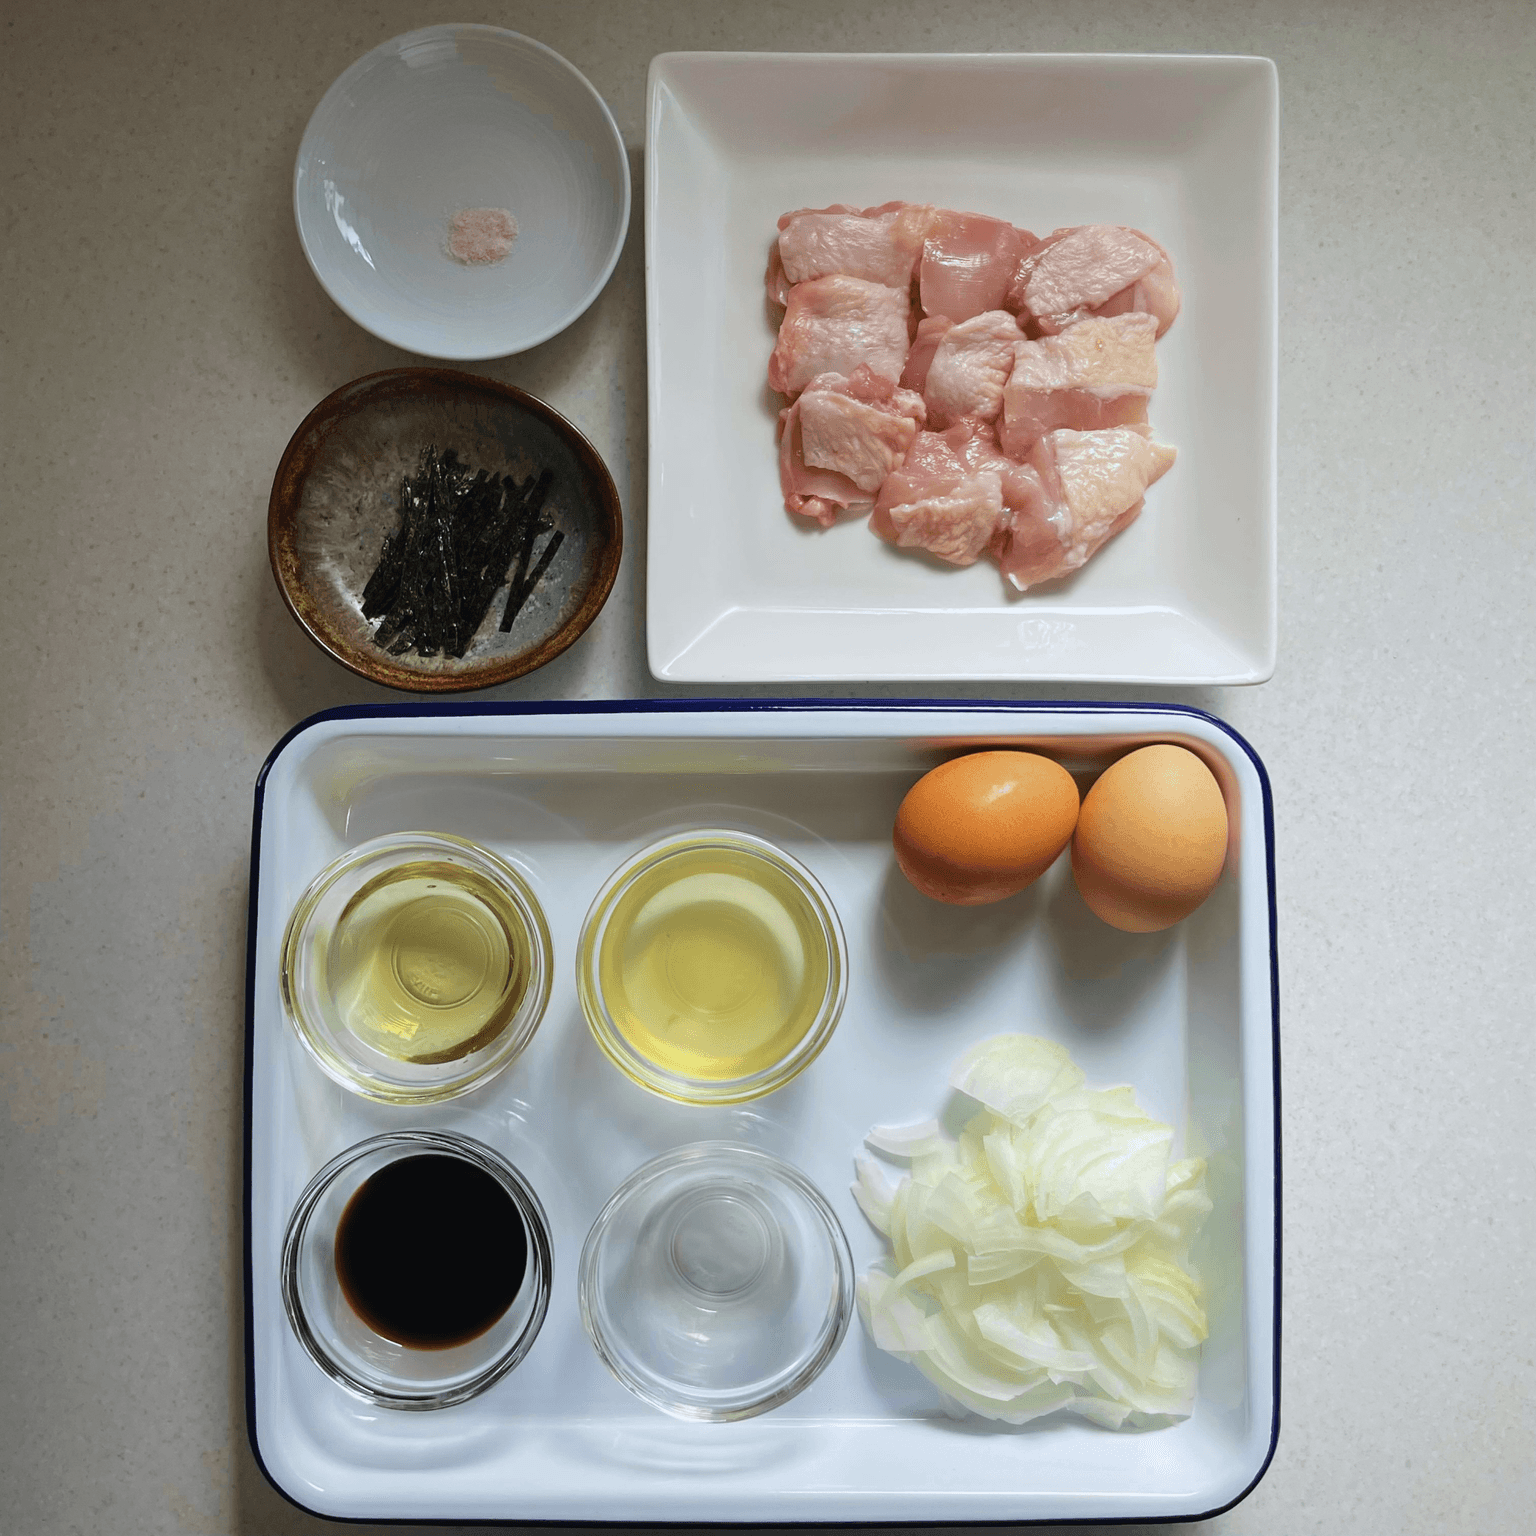
Ingredients
- 100 g Chicken thigh
- A pinch of salt
- 1 tsp
- 1/3 Onion
- 2 Eggs
- 4 tbsp
- 2 tbsp
- 1 tbsp
- Shredded nori to taste
- 1 bowl
Instructions
- 1
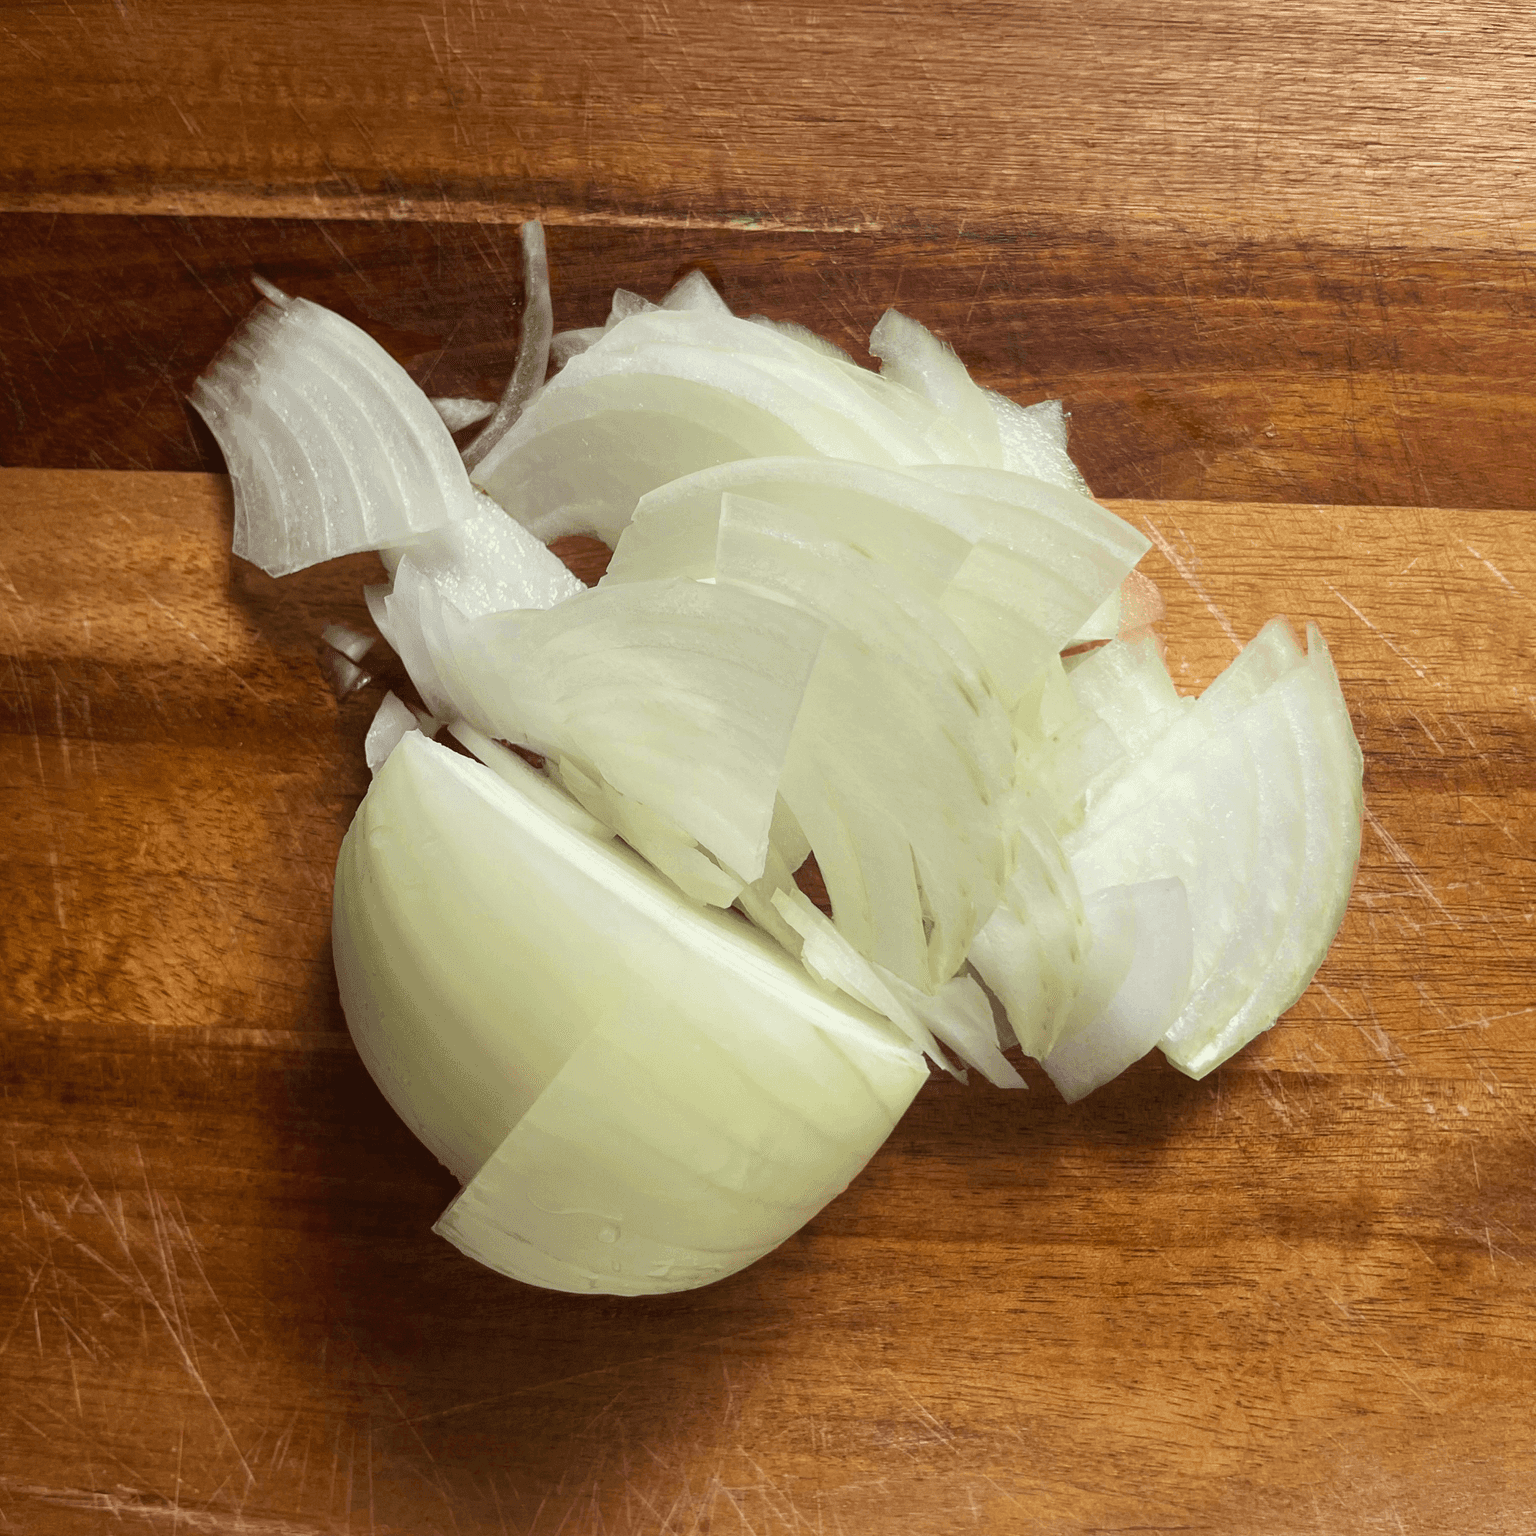
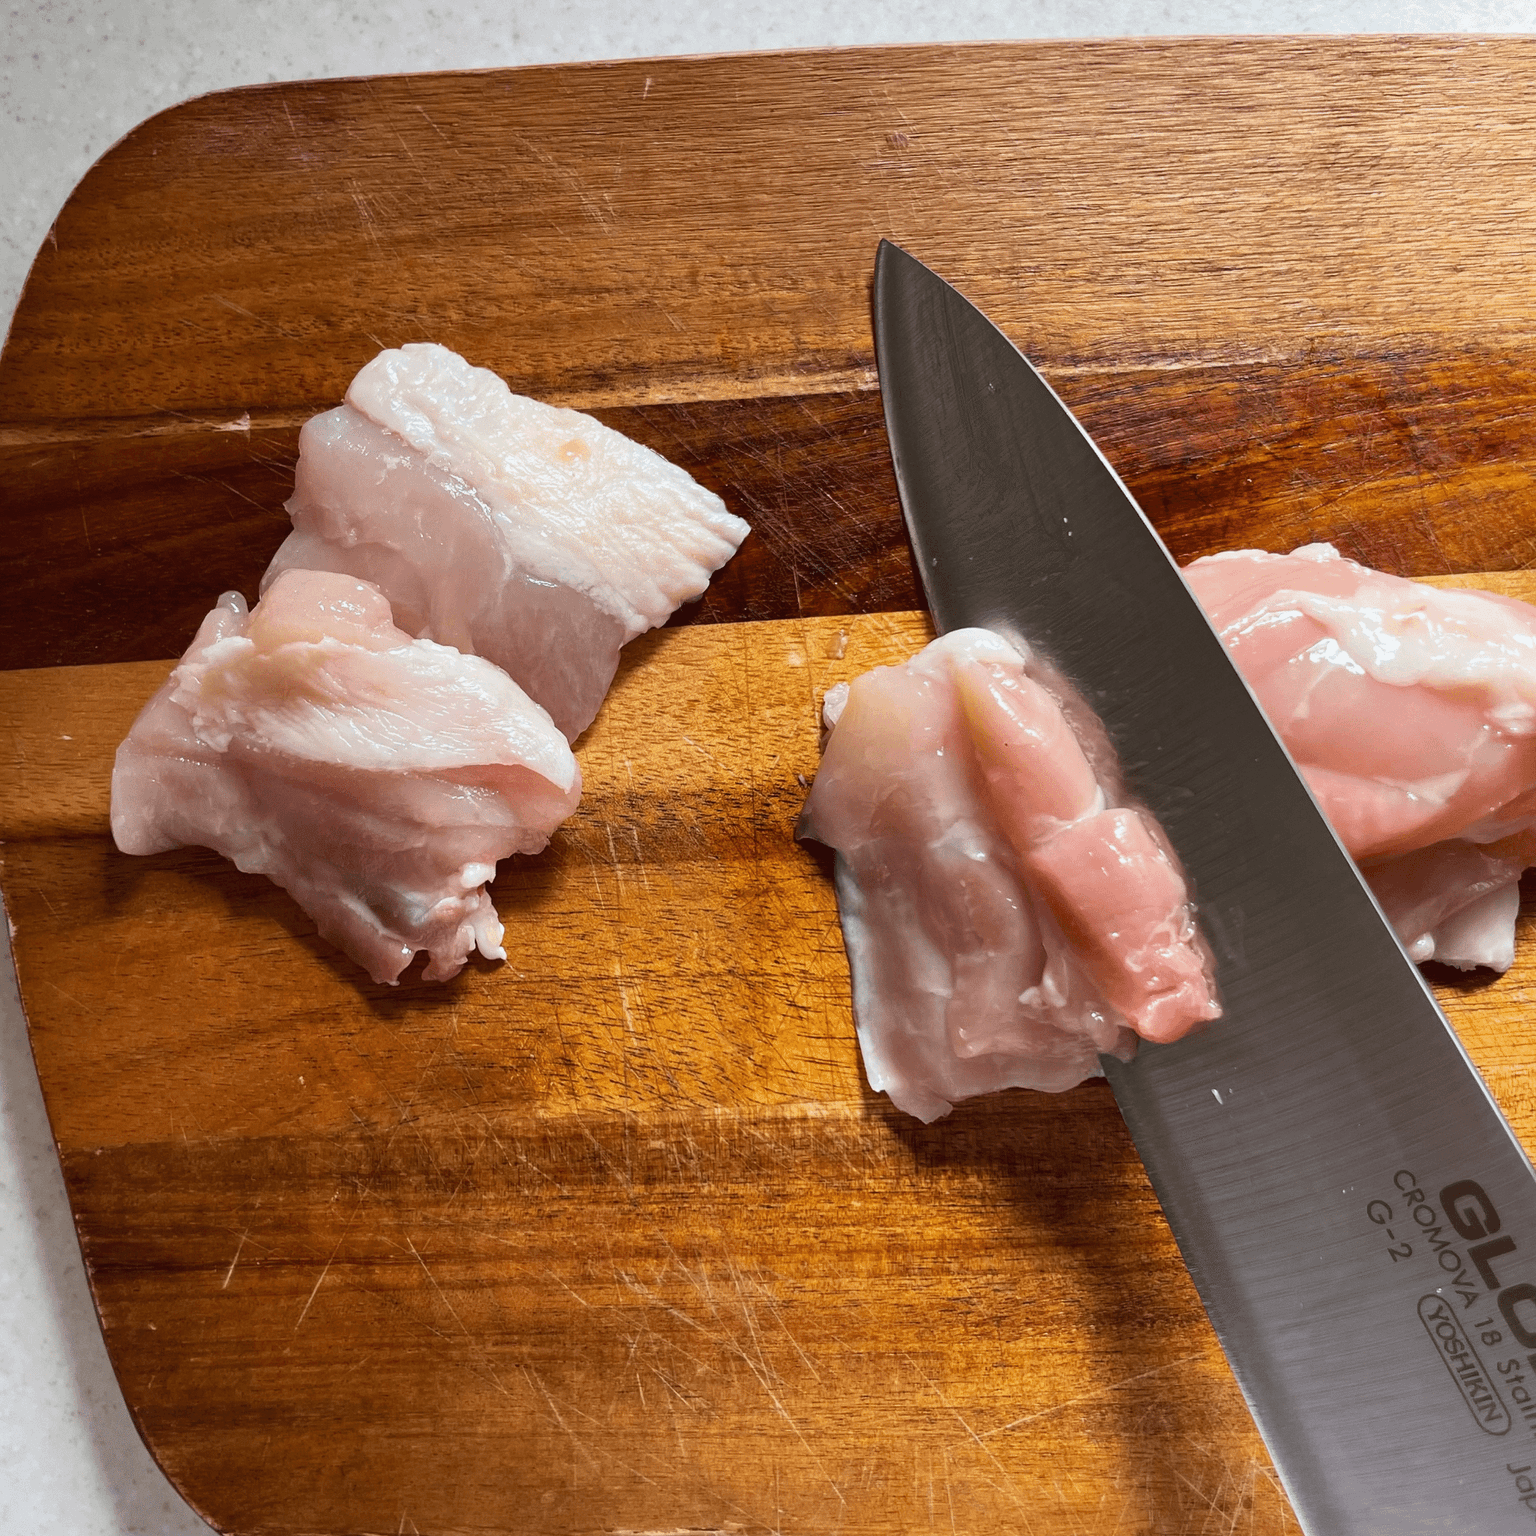
Slice the onion and chicken
Slice the onion thinly. Cut the chicken thigh into bite-size pieces on a slight angle rather than cutting it into chunky cubes. This gives the chicken more surface area, so it cooks gently and absorbs the flavour more easily.
- 2
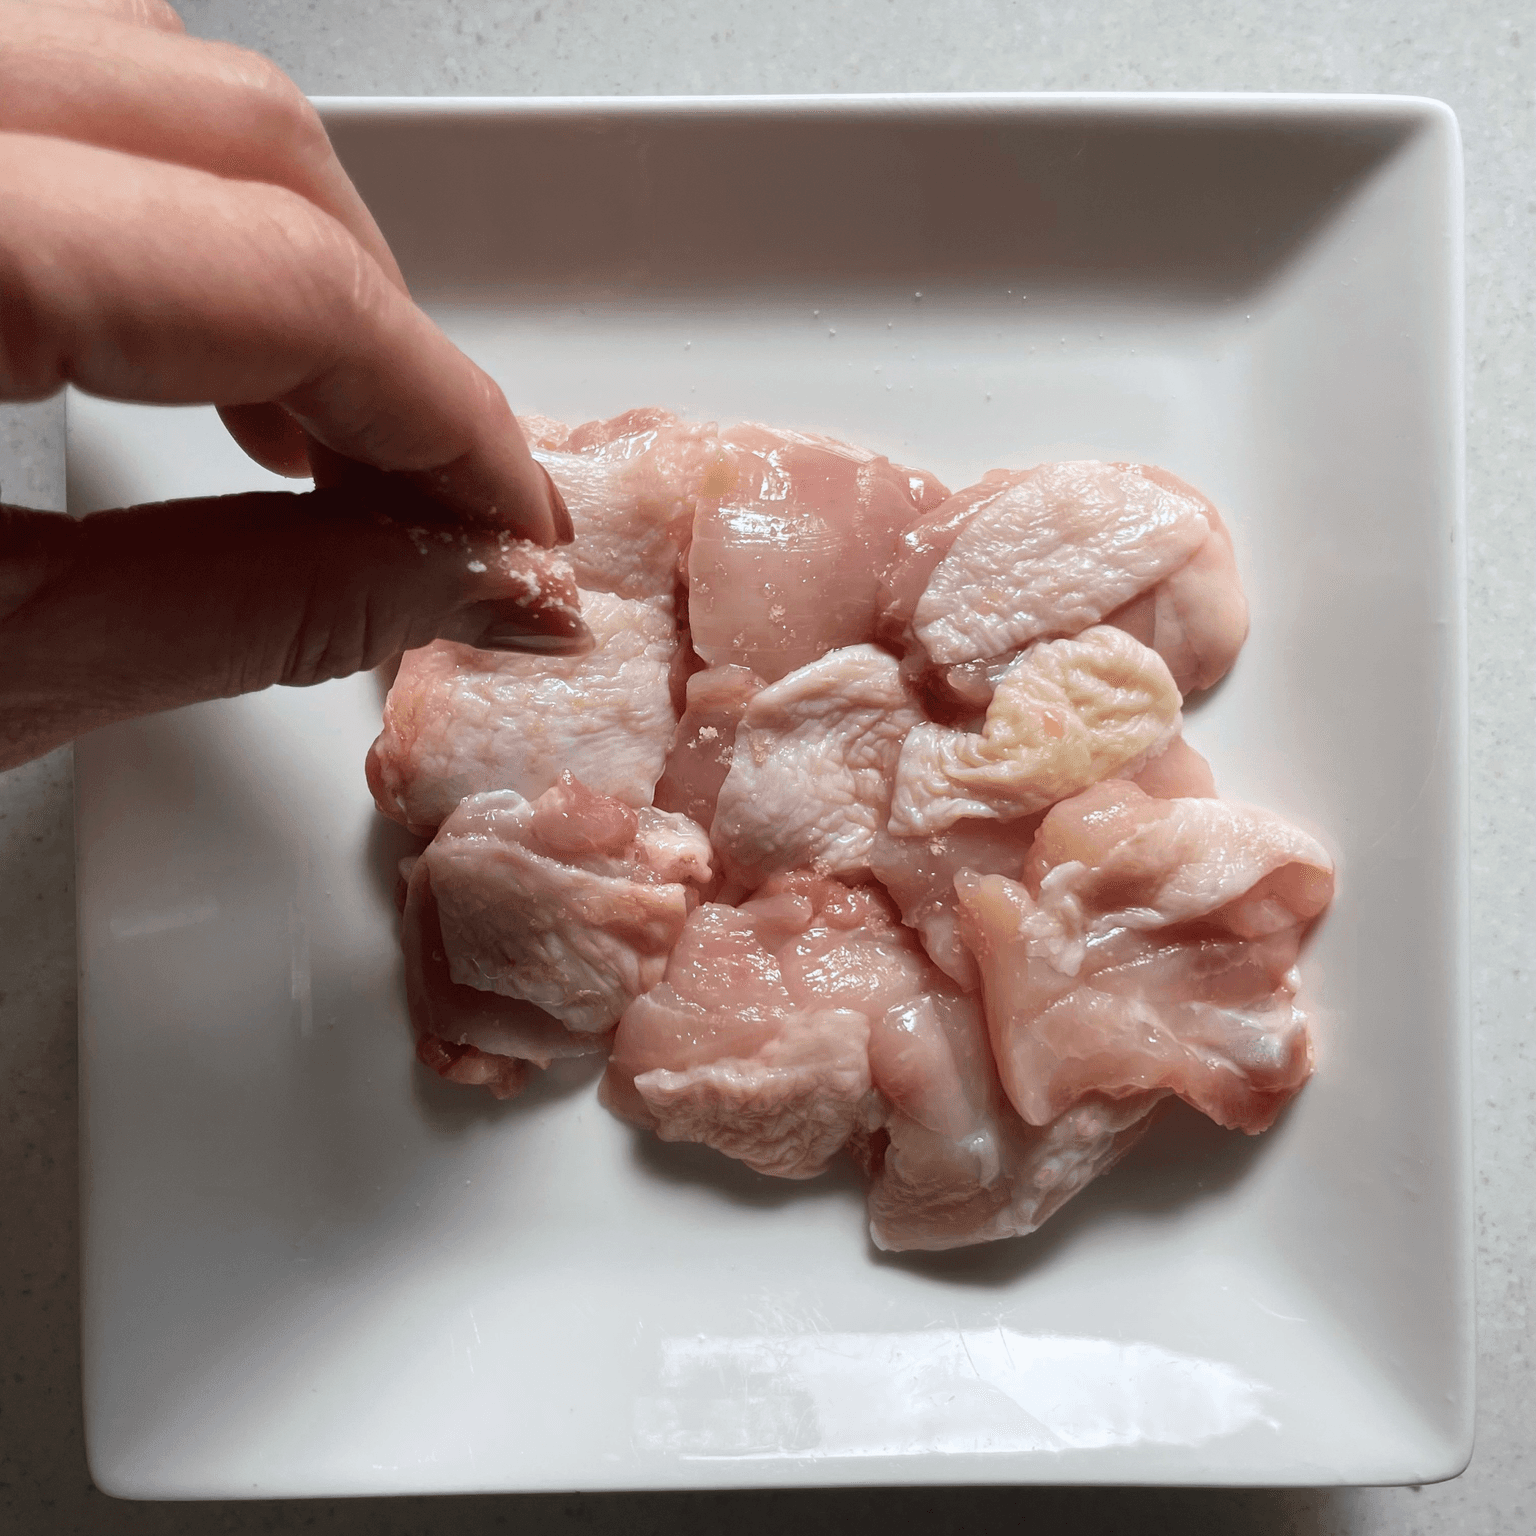
Season the chicken
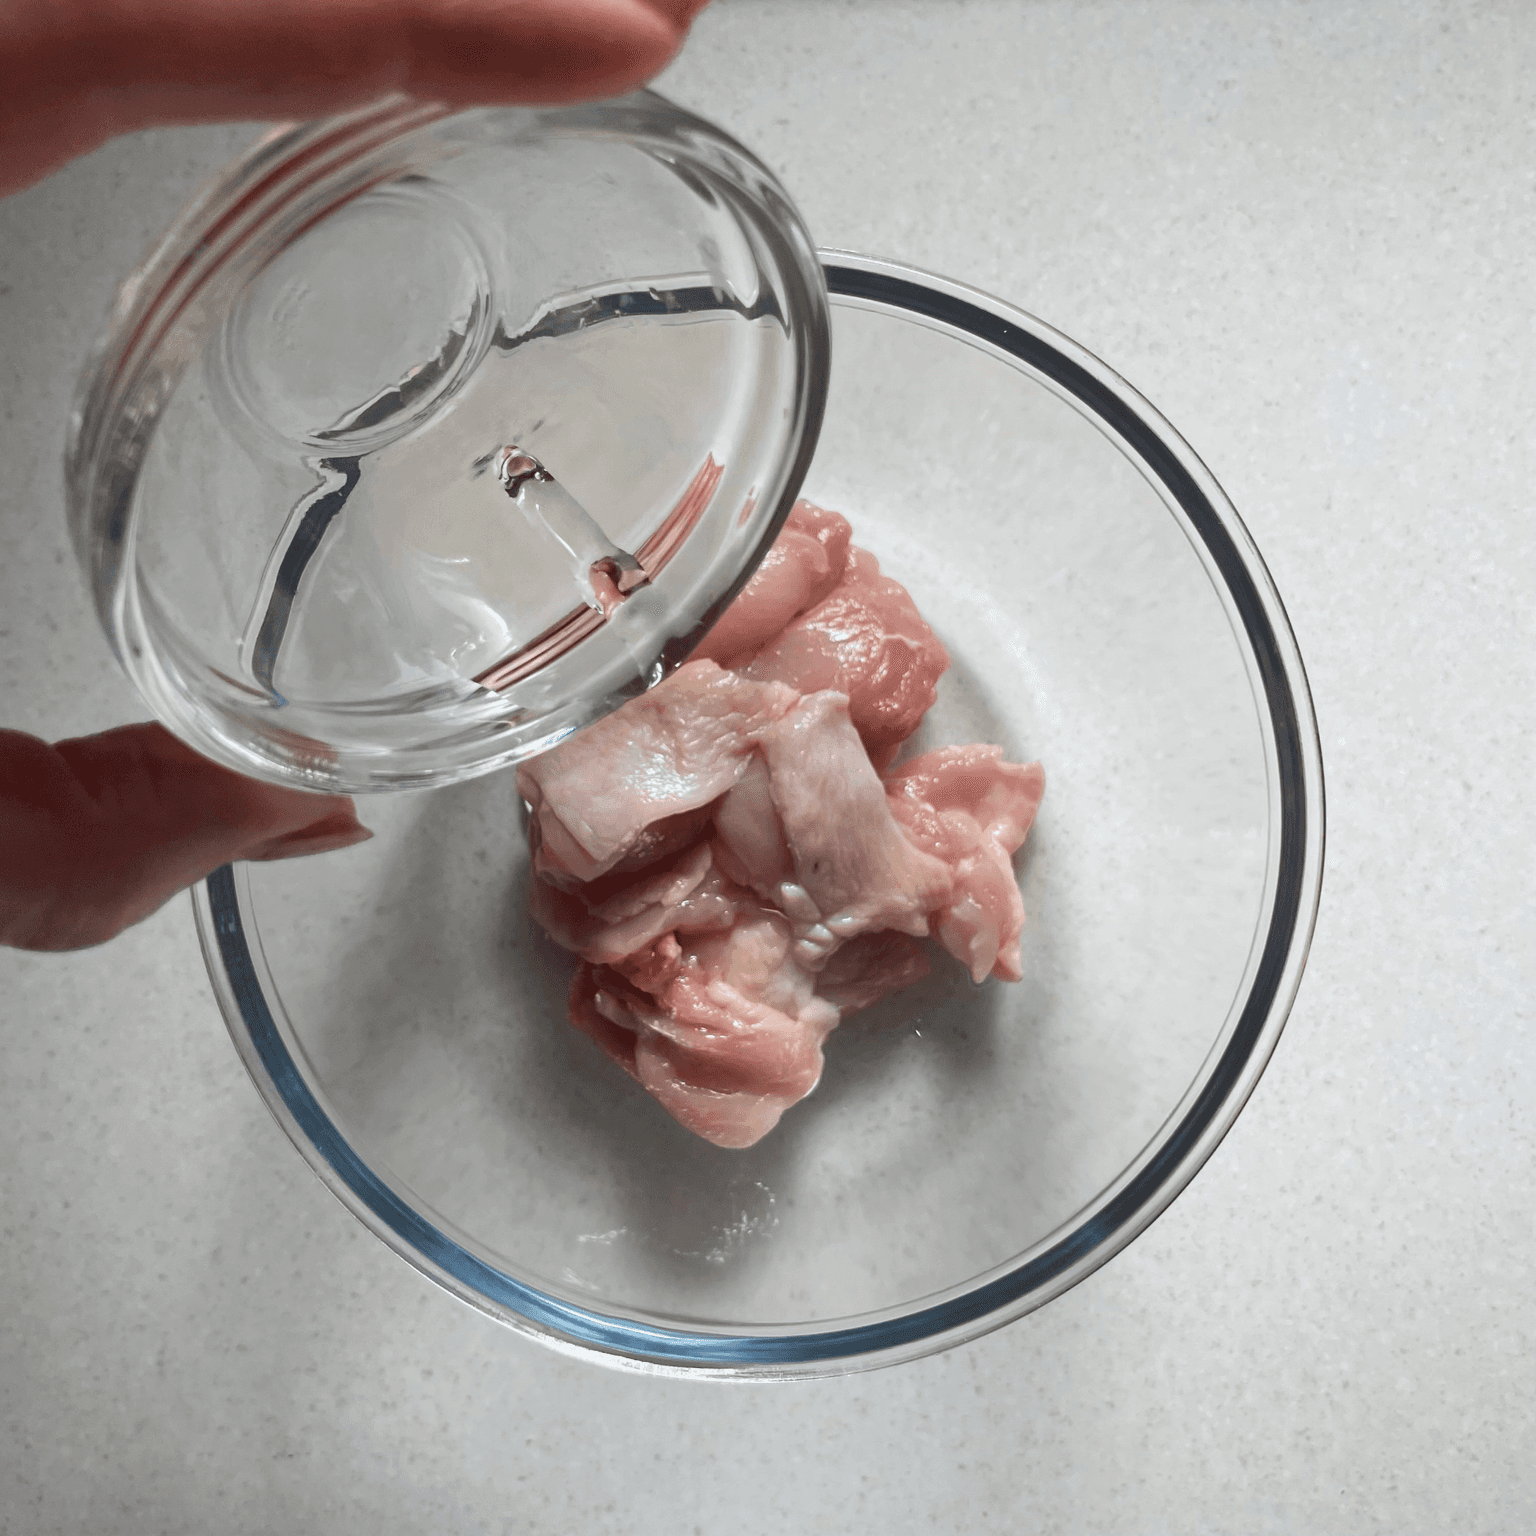
Sprinkle the chicken with a pinch of salt, rub it in lightly, then add 1 teaspoon of cooking sake. Let it rest in the fridge for 30 minutes.
- 3
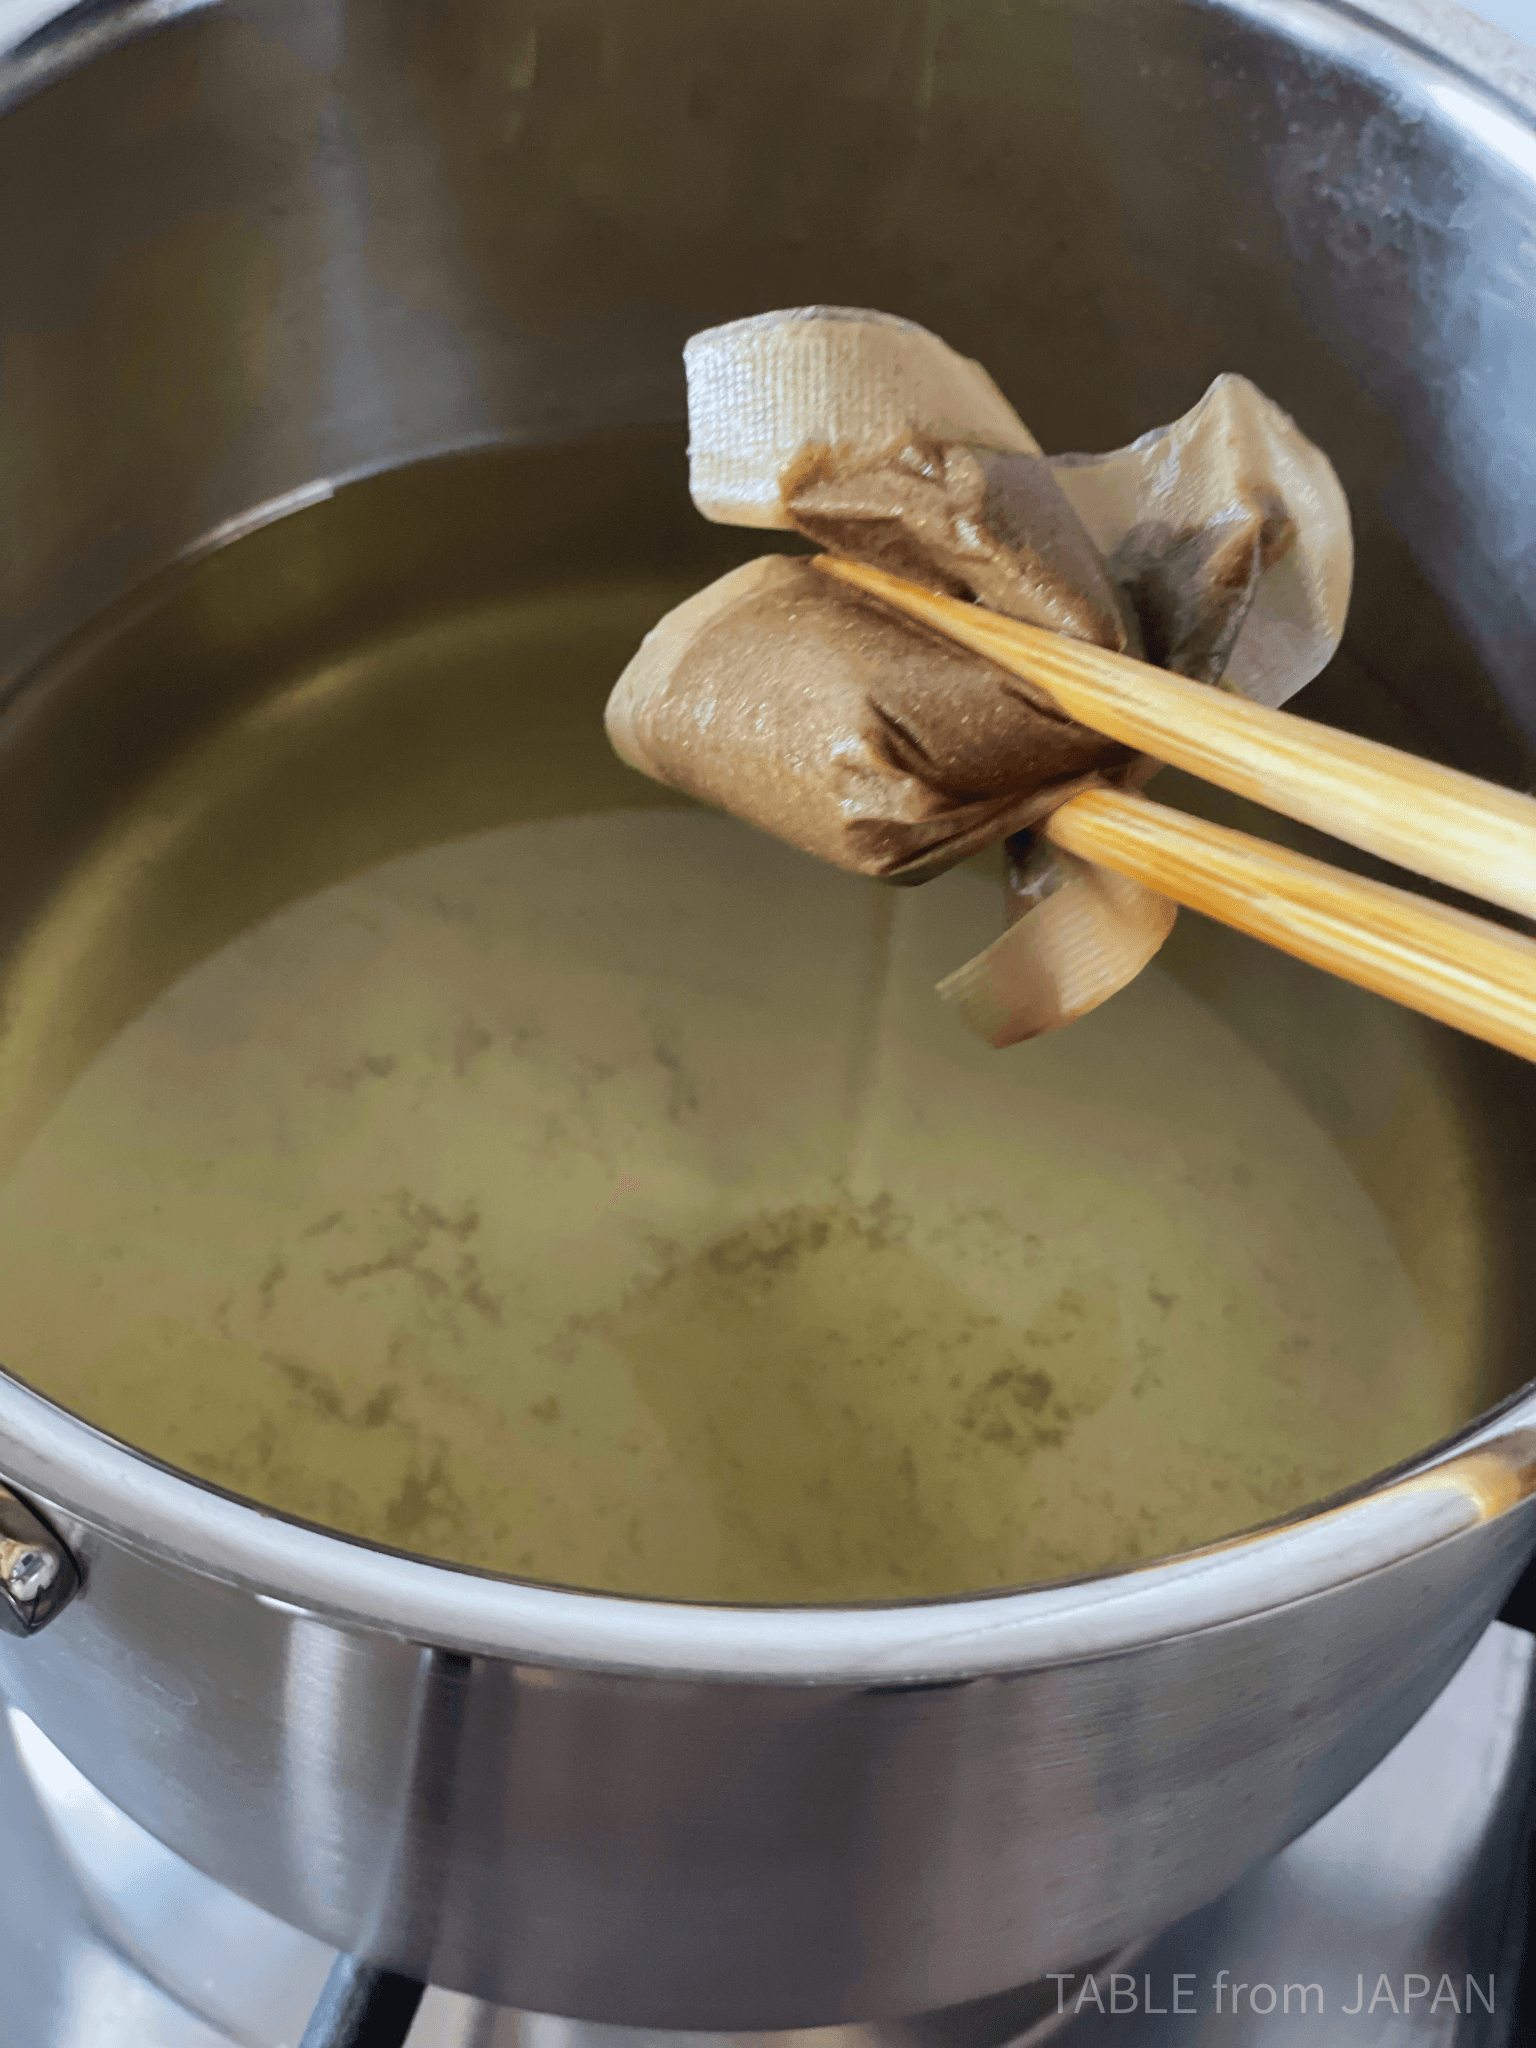
Prepare the dashi
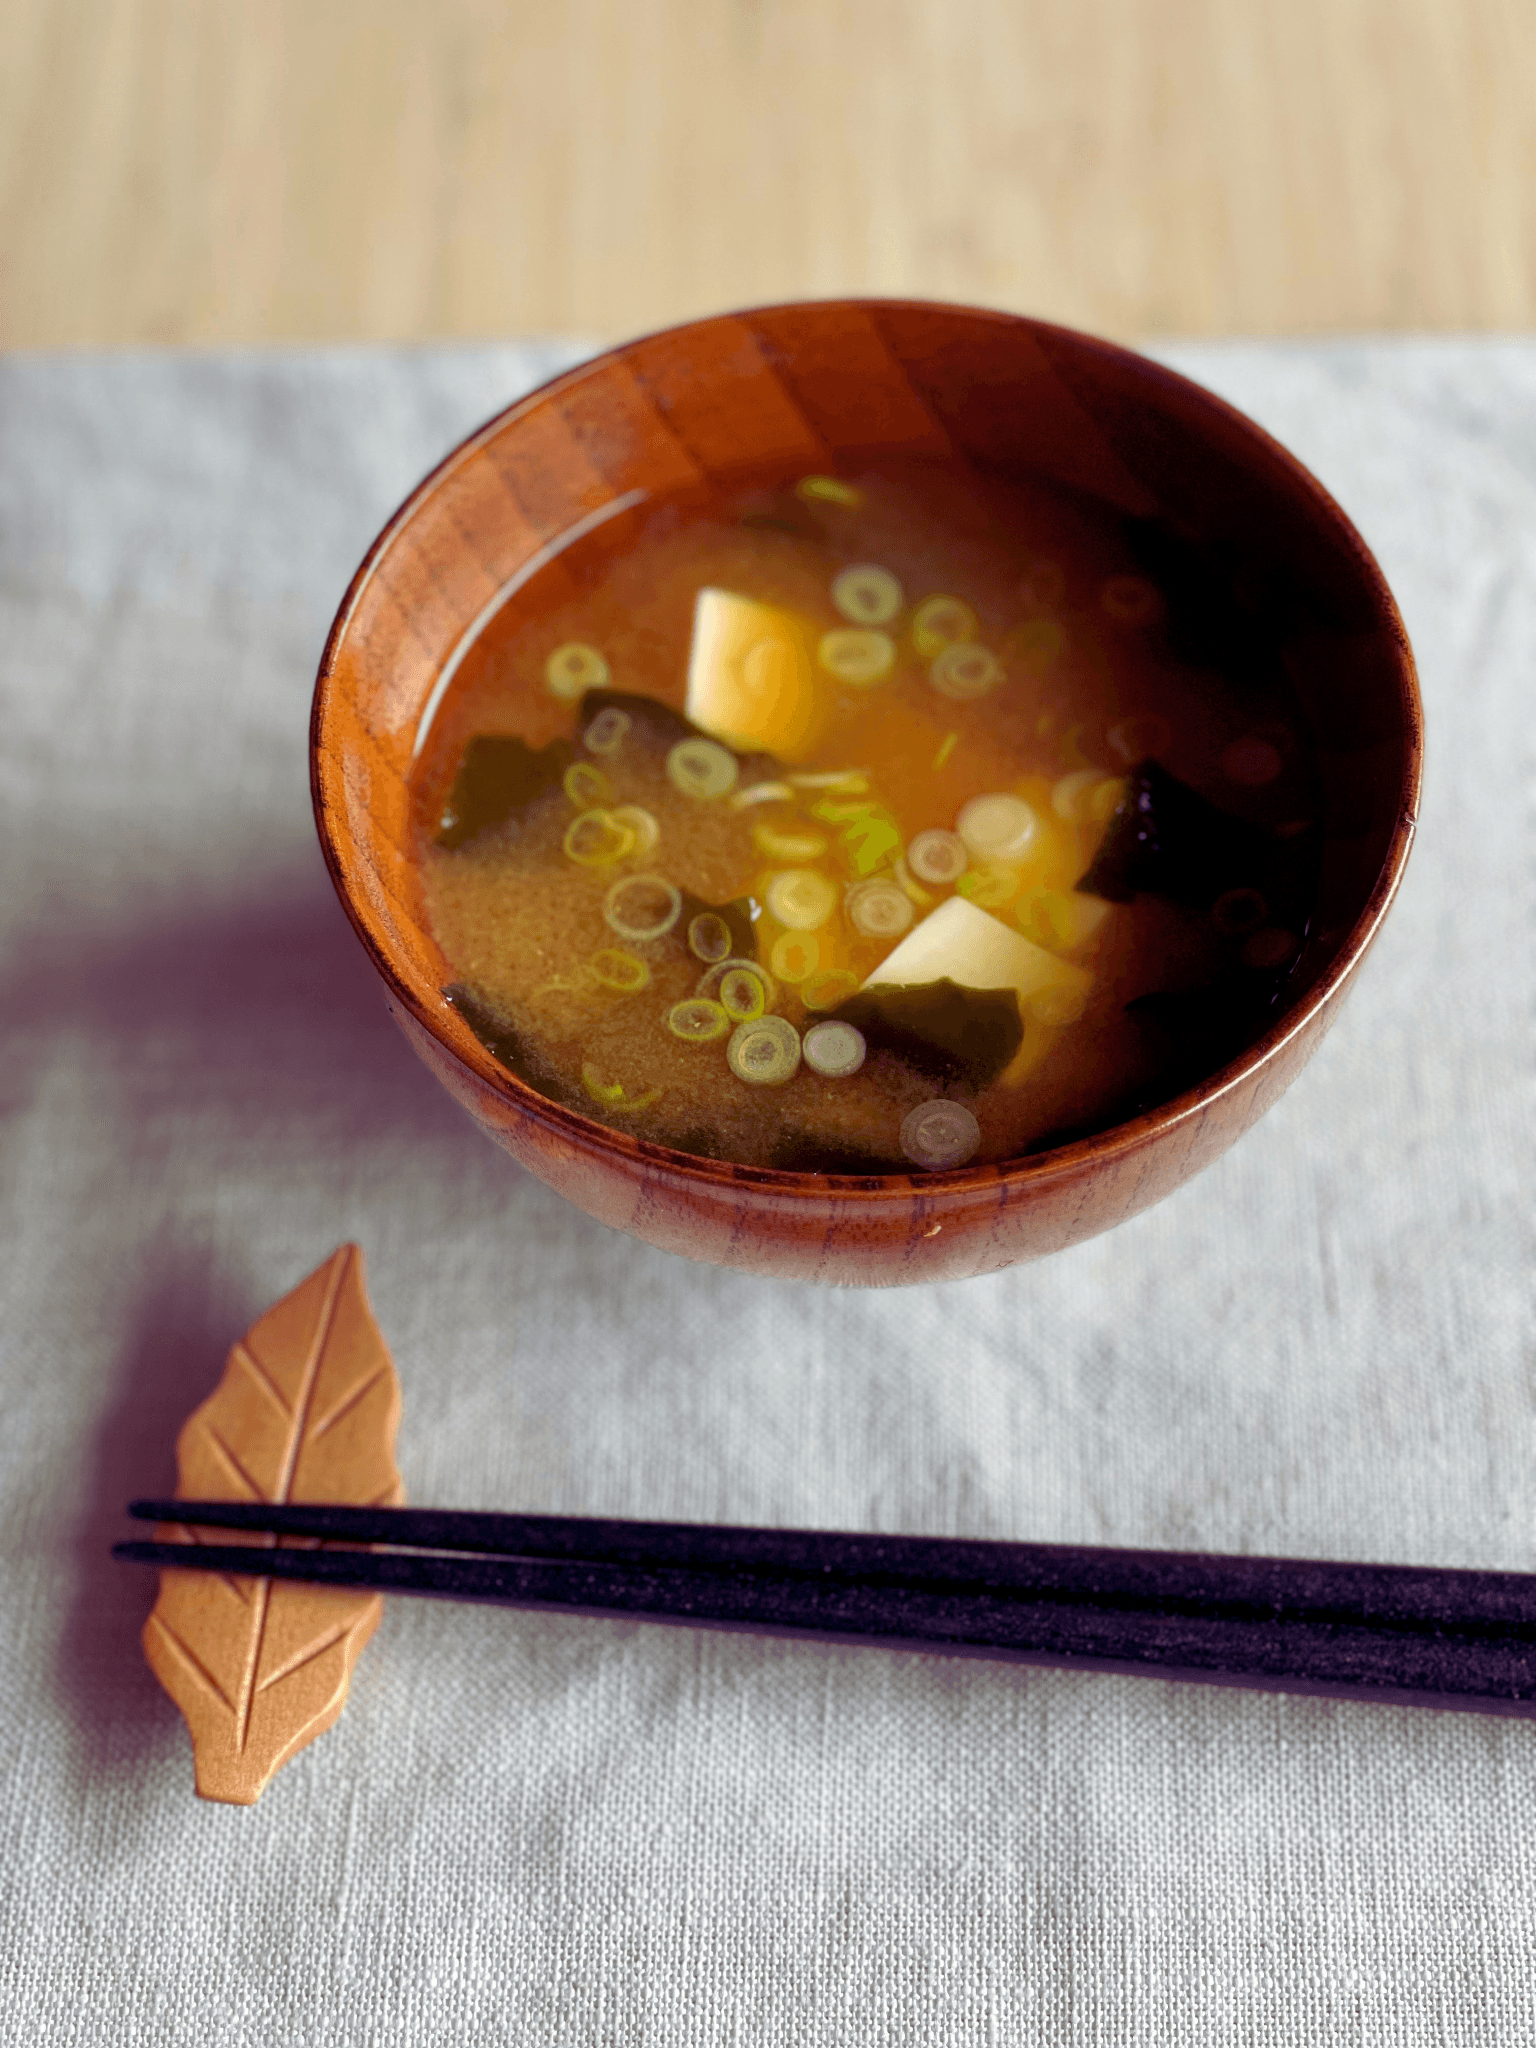
Prepare one dashi pack. Bring the amount of water listed on the packet, usually around 500-600 ml, to a gentle simmer. Add the dashi pack and simmer over medium heat for 3 to 5 minutes without boiling strongly. If it starts to boil, lower the heat. If the pack floats, gently press it down now and then with chopsticks or a ladle. Turn off the heat and remove the dashi pack straight away. You only need 4 tablespoons of dashi for one serving, so you can keep the rest for another serving or use it in another dish like miso soup.

- 4
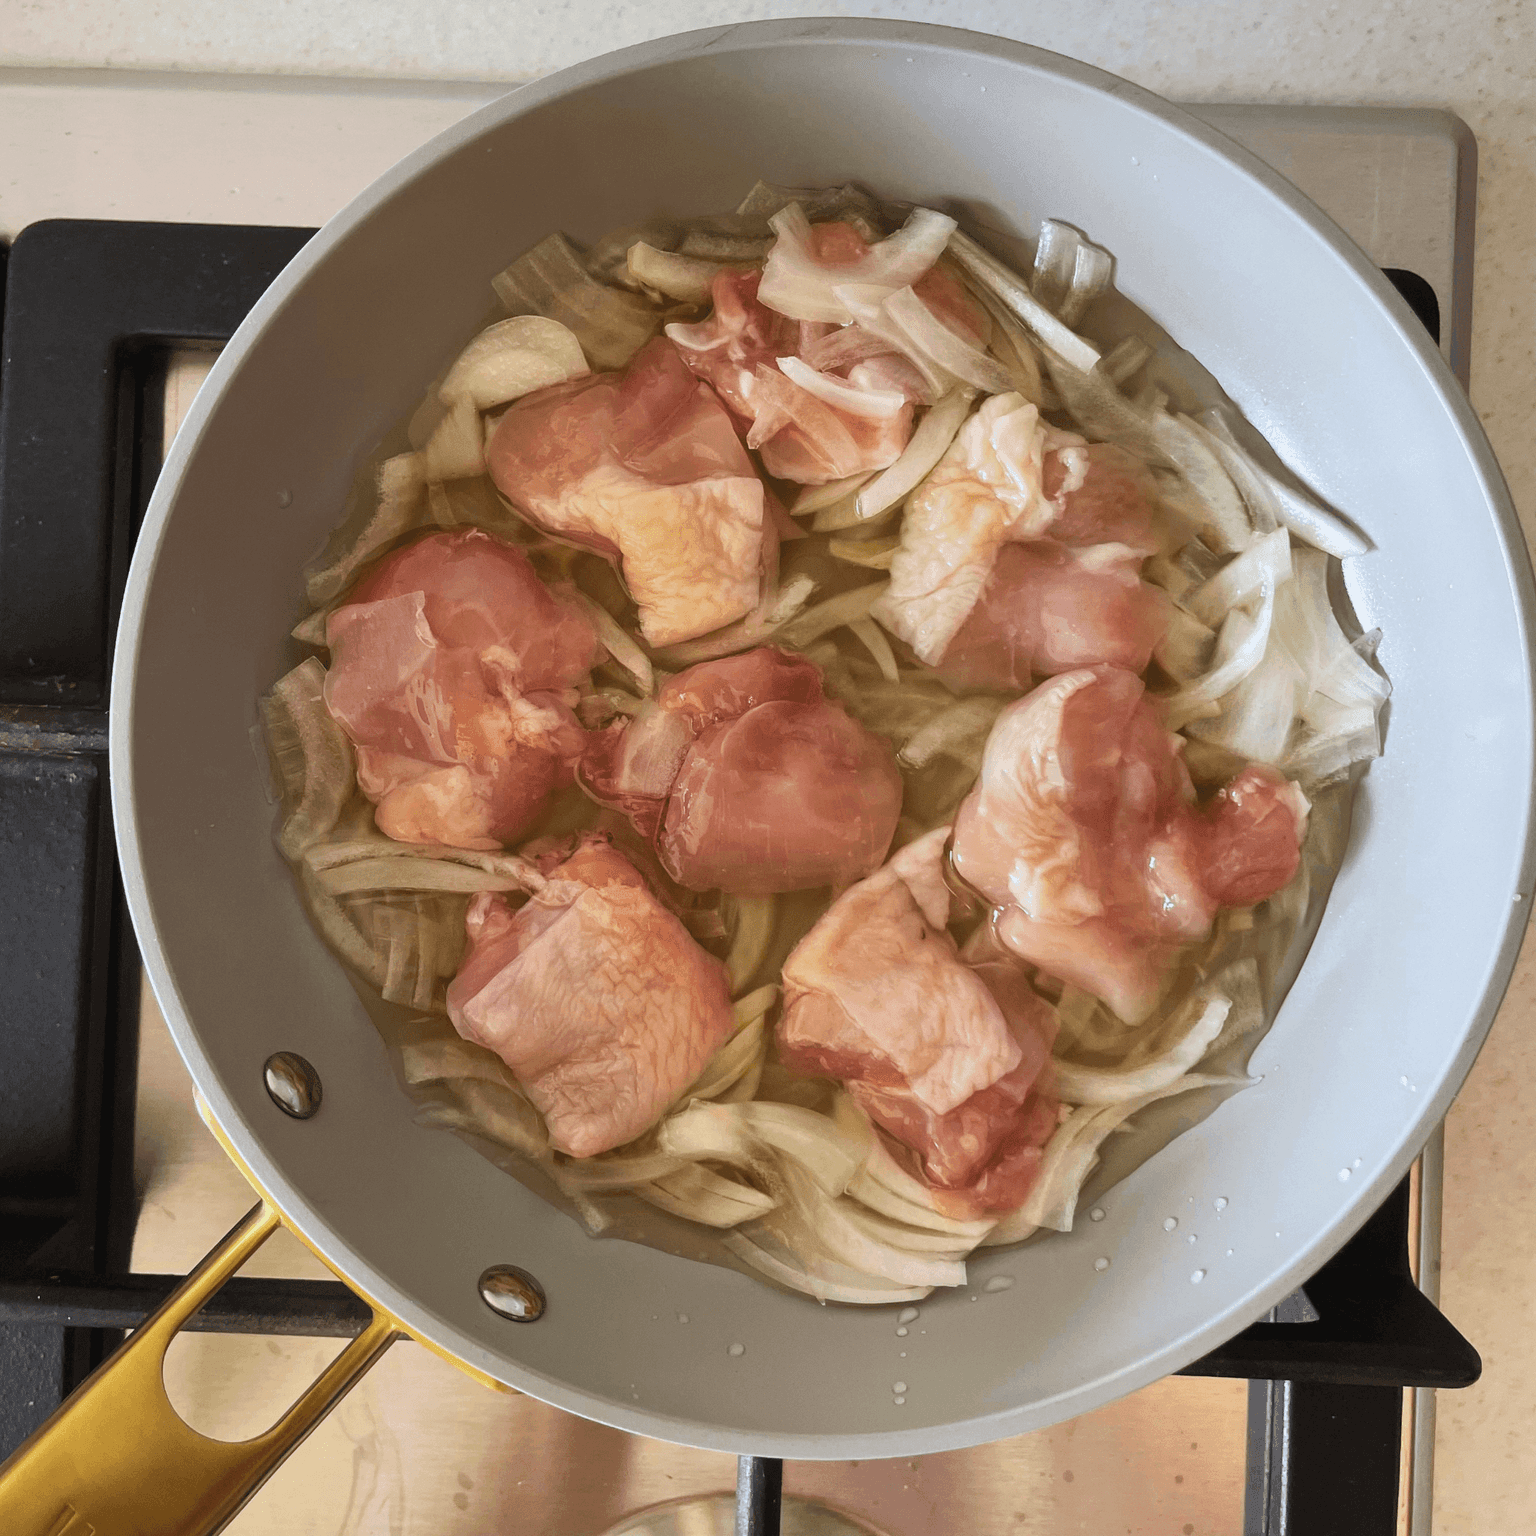
Start in an unheated pan
Add the dashi, mirin, chicken and onion to an unheated frying pan before turning on the heat. Then turn the heat to medium and slowly bring it to a gentle simmer. Do not add the soy sauce yet, so the chicken and onion can absorb the dashi and mirin first.
- 5
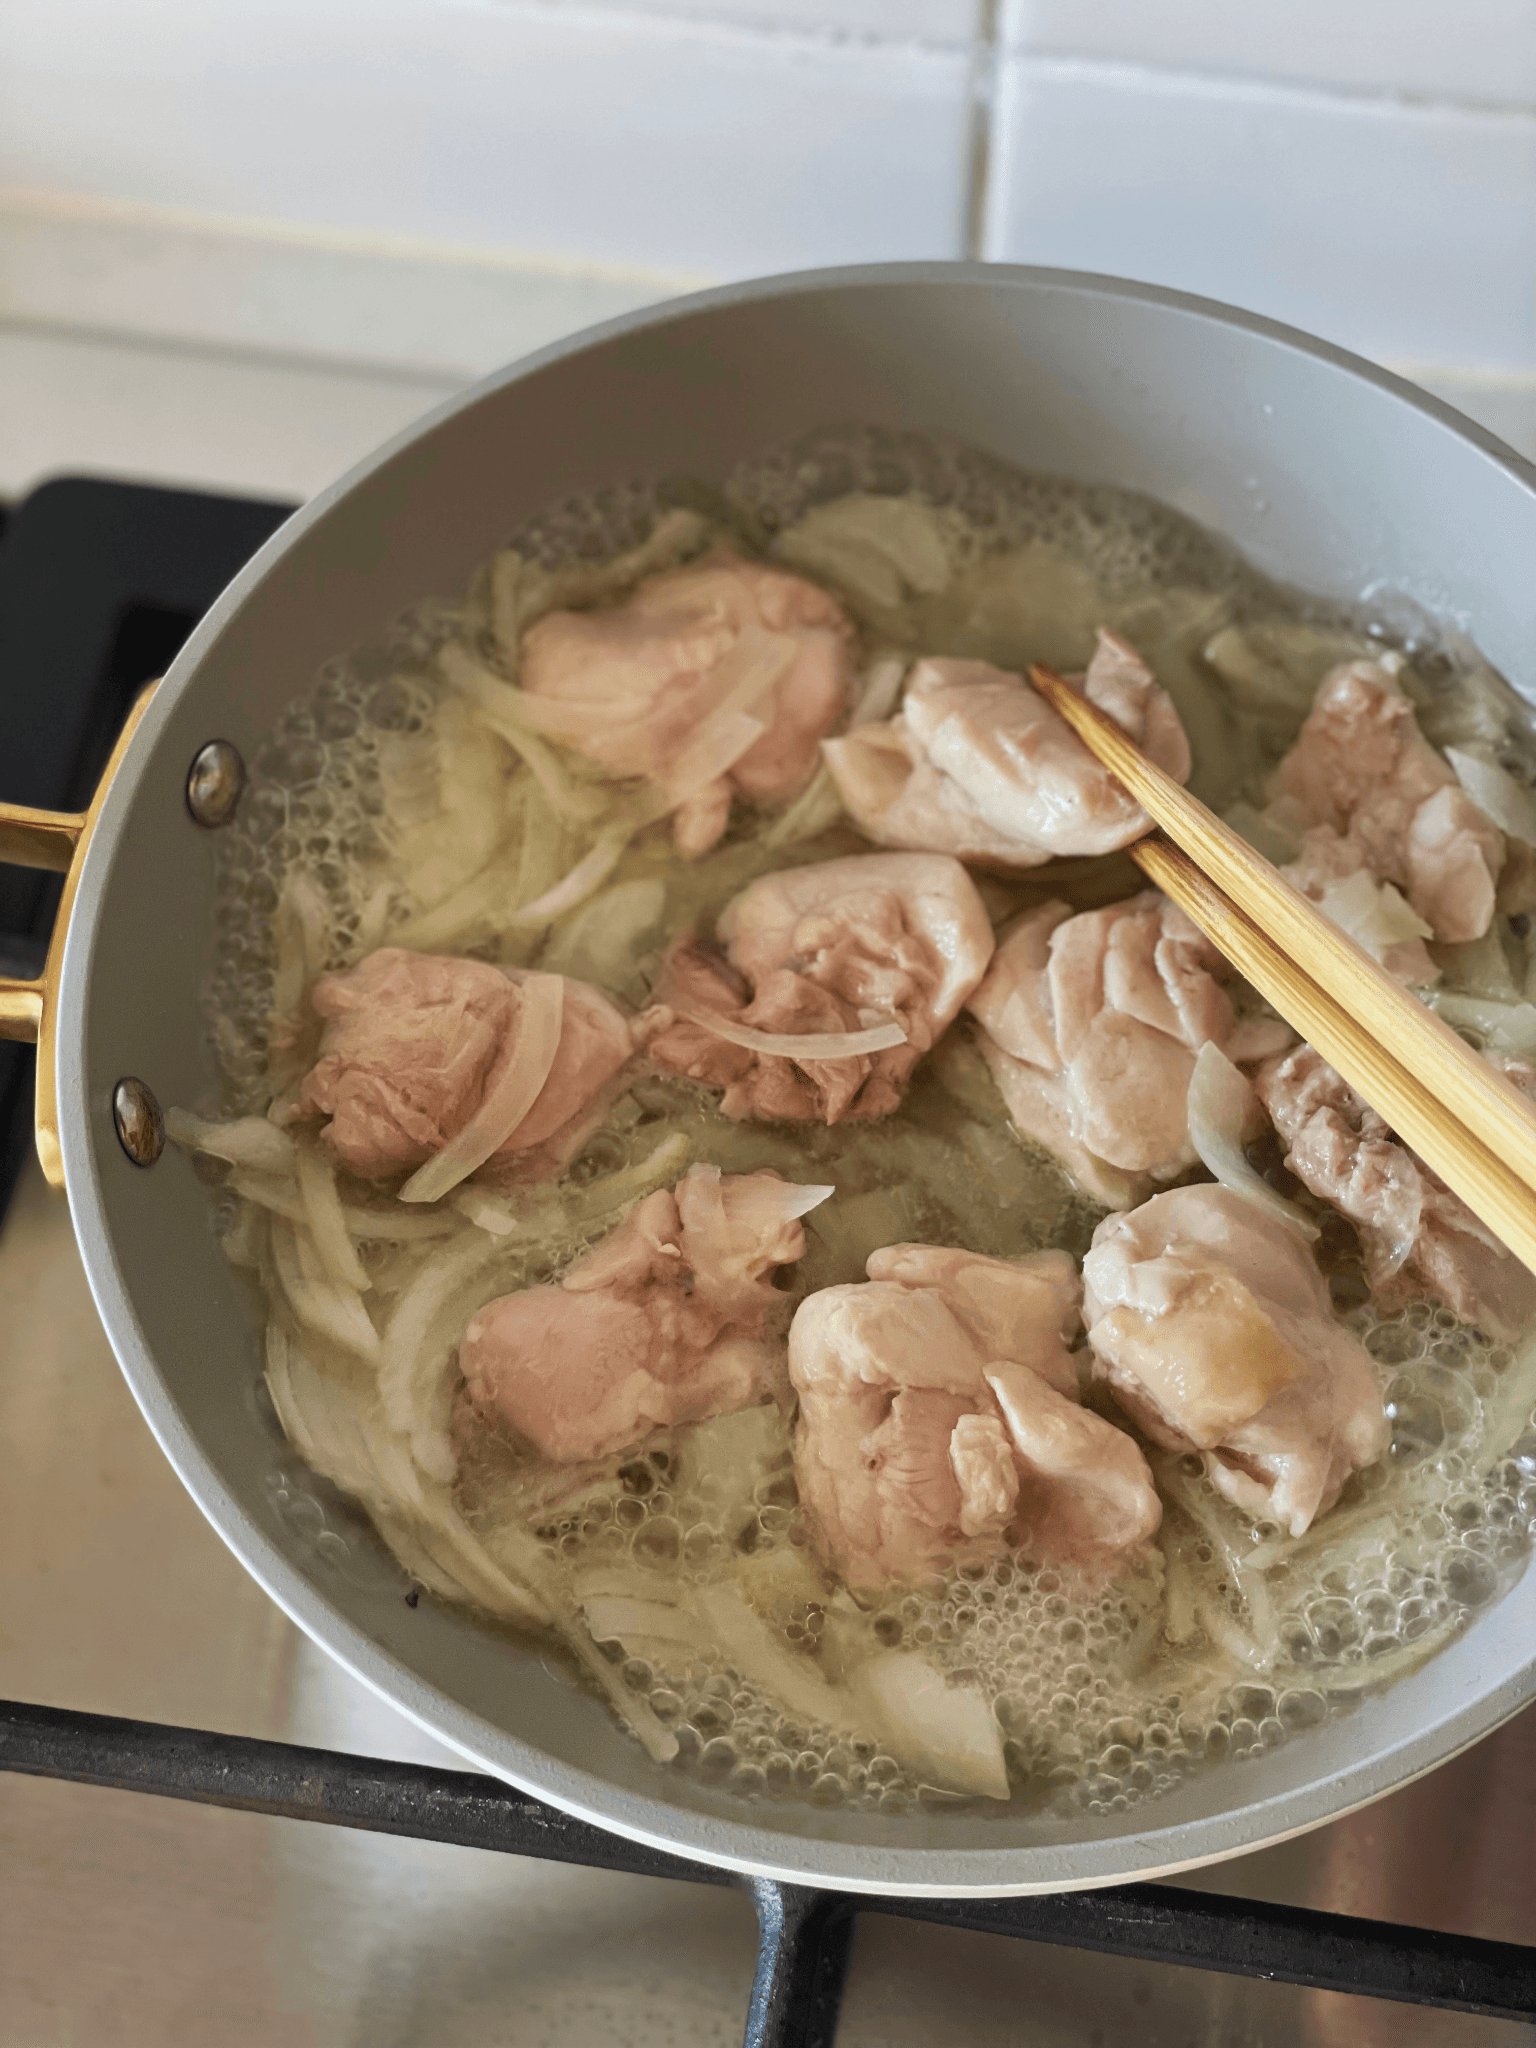
Lower the heat and turn the chicken
Once the sauce comes to a simmer, lower the heat so it bubbles gently. Turn the chicken pieces over so they cook evenly.
- 6
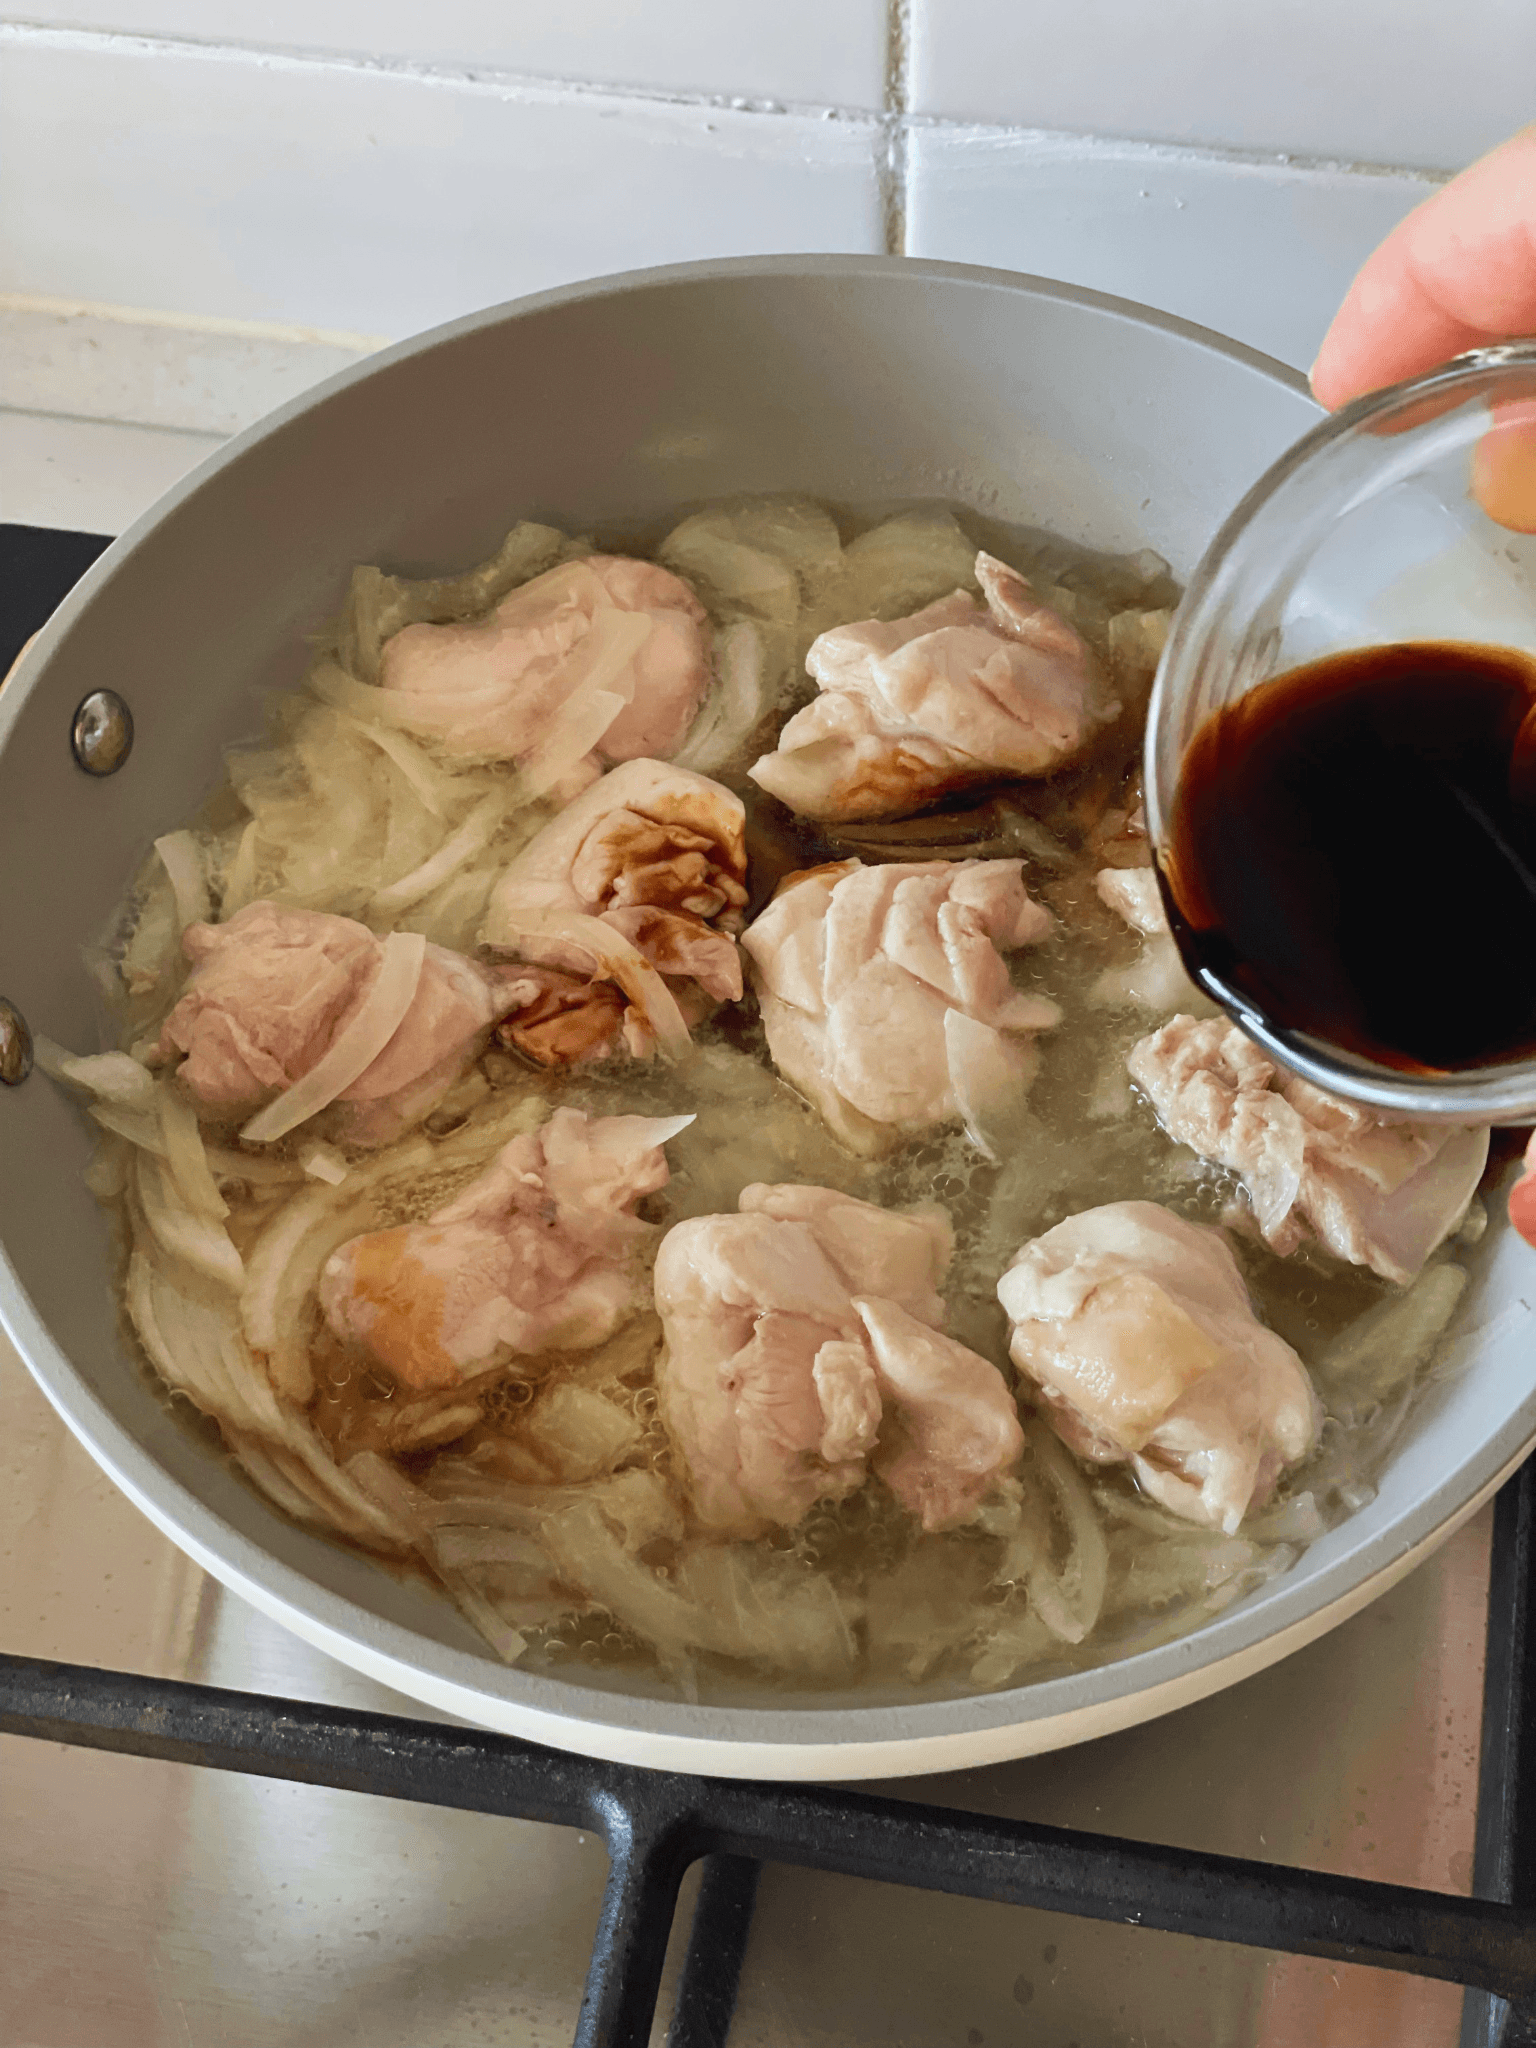
Add soy sauce and simmer gently
Add the soy sauce, then simmer for about 5 minutes. Keep the heat low enough that the sauce is gently bubbling. If the heat is too high, the chicken can become firm and the sauce may reduce too quickly.
- 7
Lightly break up the eggs
Crack the eggs into a bowl and gently break up the egg whites with chopsticks or a fork. Try not to mix the eggs completely smooth. The aim is to loosen the egg white so it does not fall into the pan in one big clump. It is okay if the yolks break naturally as you do this. A slightly uneven mixture helps the egg stay soft and gently set.
- 8
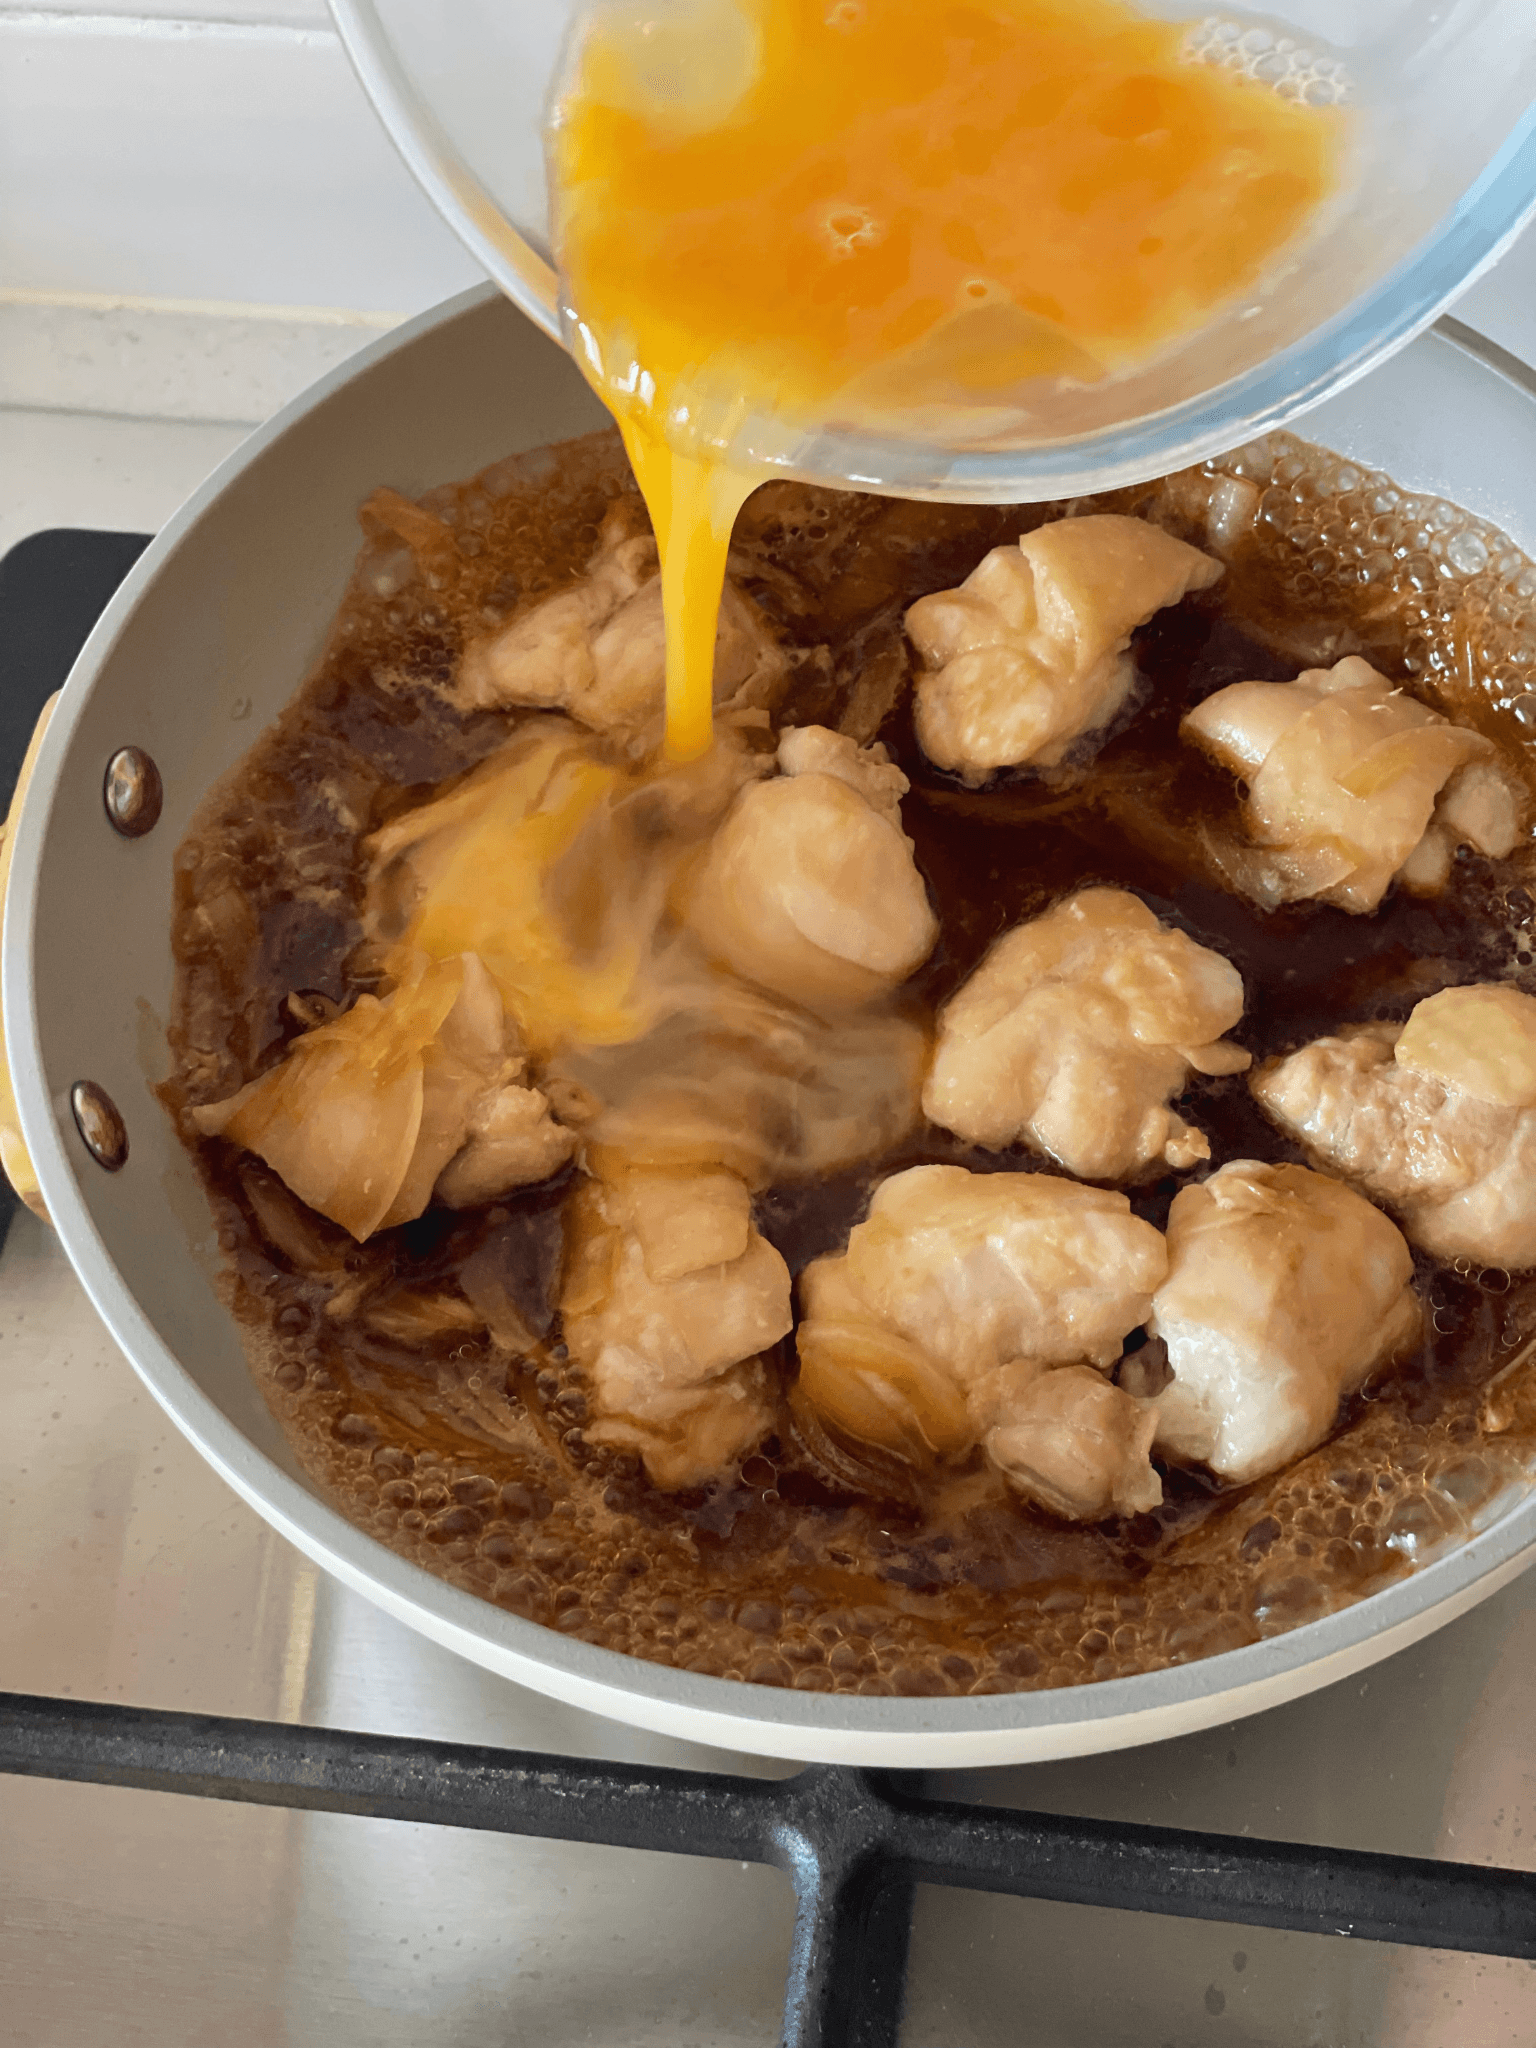
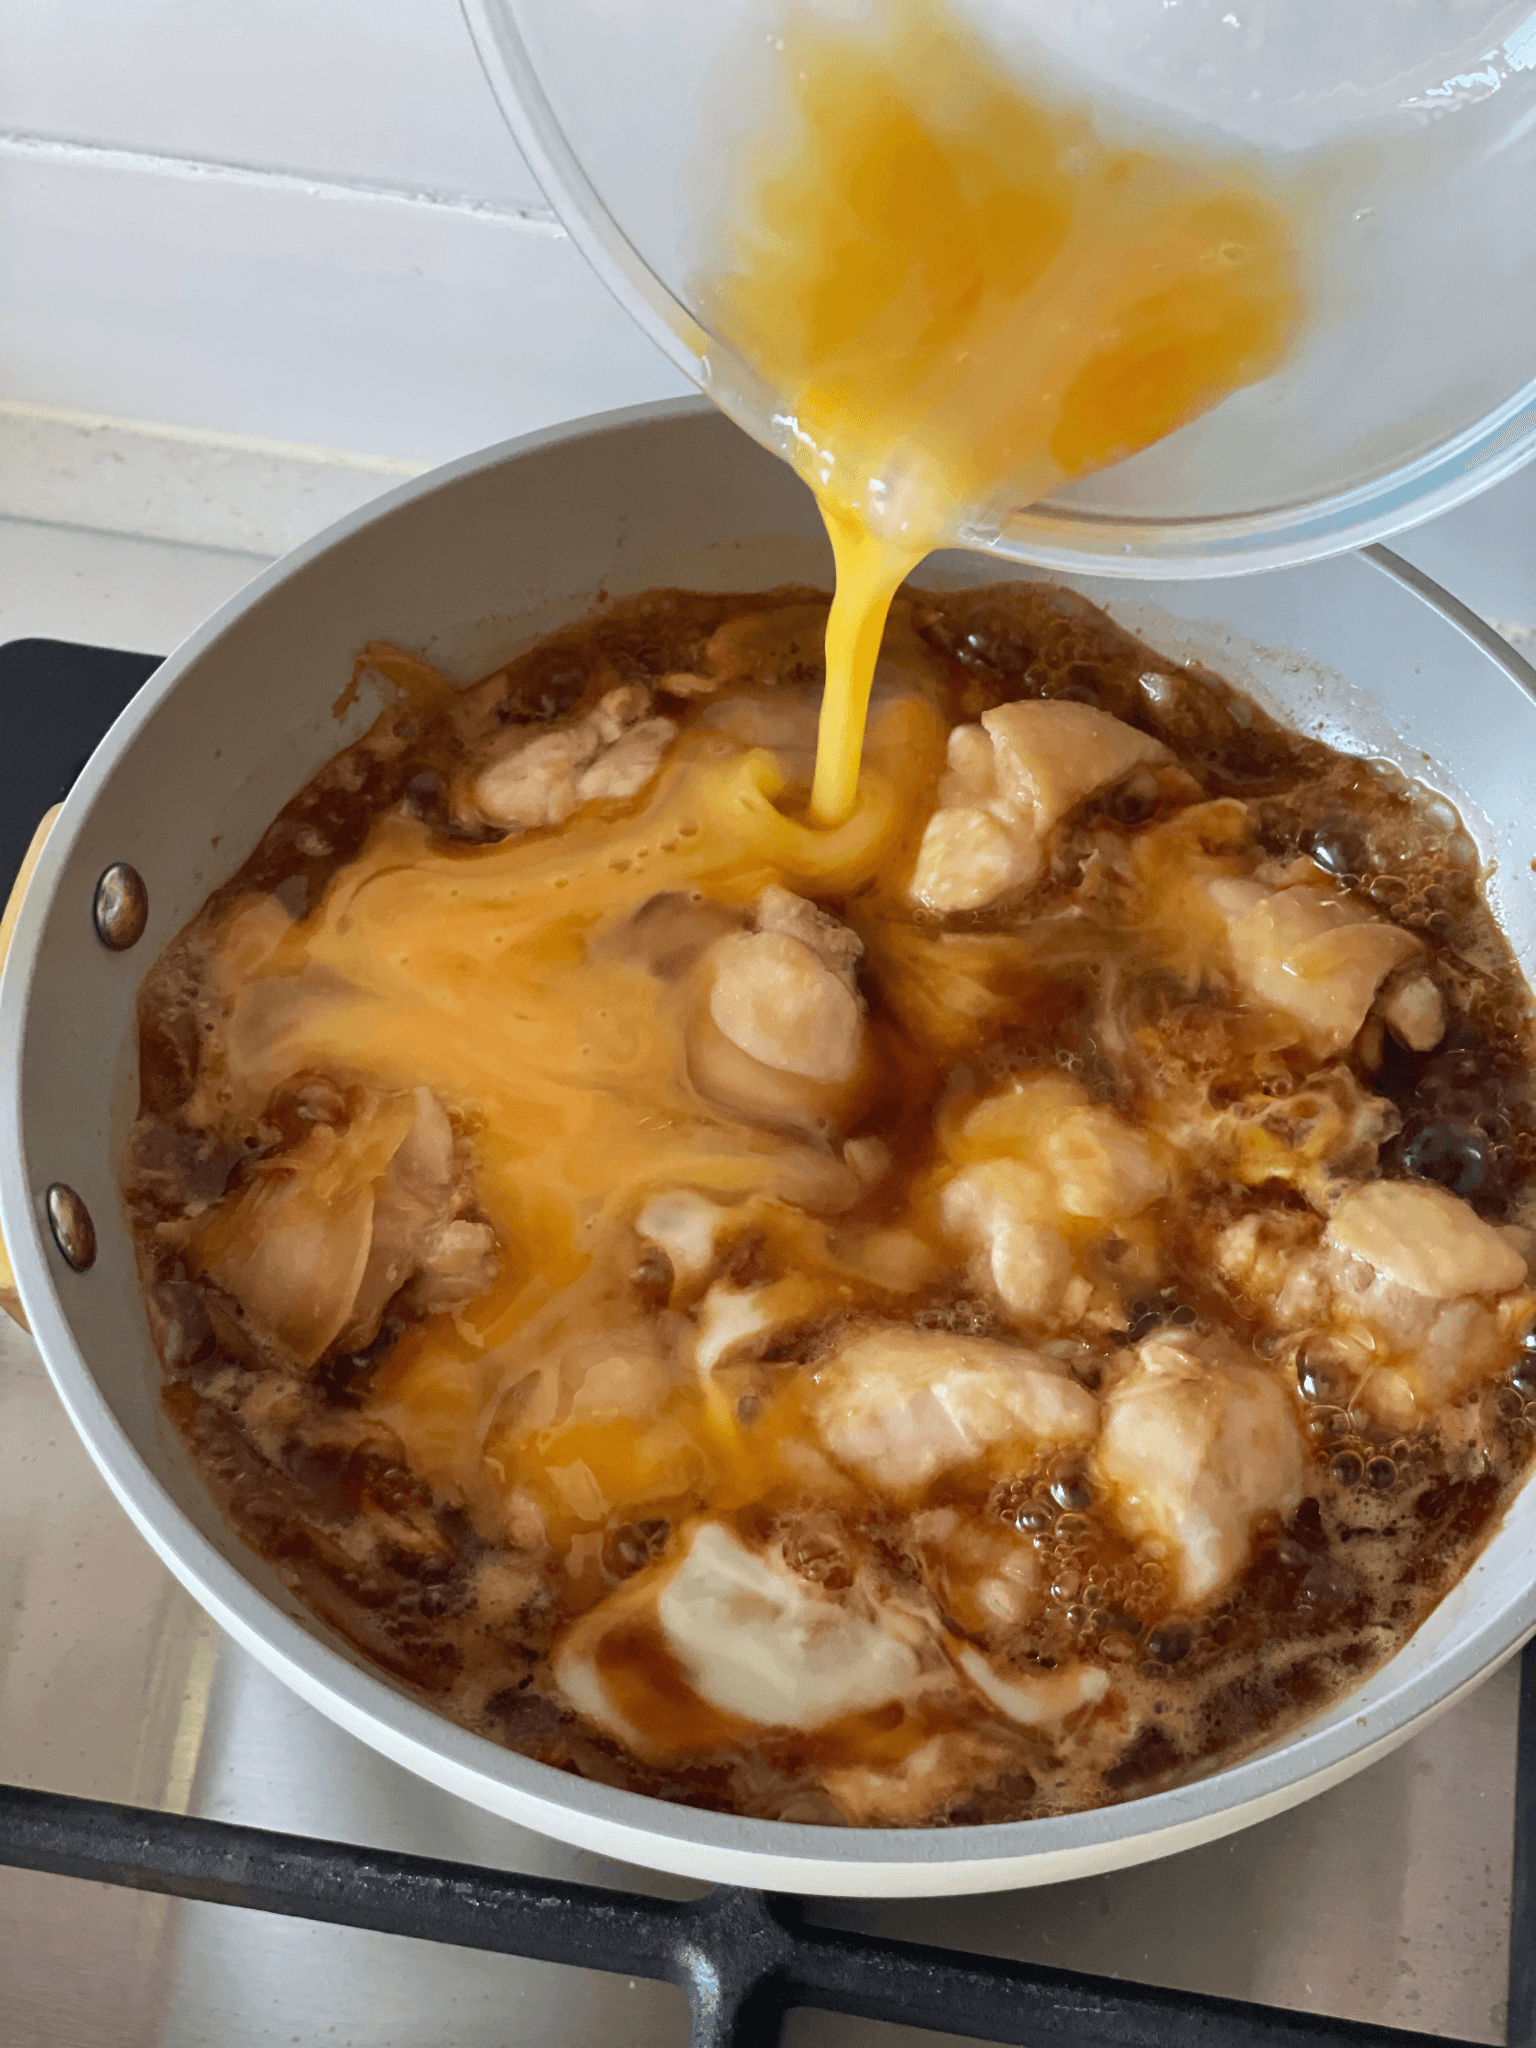
Add the egg in two stages
Pour about half of the egg over the chicken and onion, moving around the pan as you pour. Because the eggs are not fully mixed, more of the egg white may fall in first and some yolk may stay in the bowl. That is completely fine. Egg white takes a little longer to cook and absorbs the dashi well. Think of the first addition as letting the egg white take in the flavour, then finishing with the yolk in the second addition. Keep the heat at low-medium to medium heat so the egg softly sets instead of mixing into the sauce.
- 9
Add the remaining egg
When the first egg has mostly set and the sauce starts gently bubbling again, pour in the remaining egg around the pan. Turn off the heat while the top is still soft. The remaining heat will finish the egg gently.
- 10
Rest briefly, then serve over rice
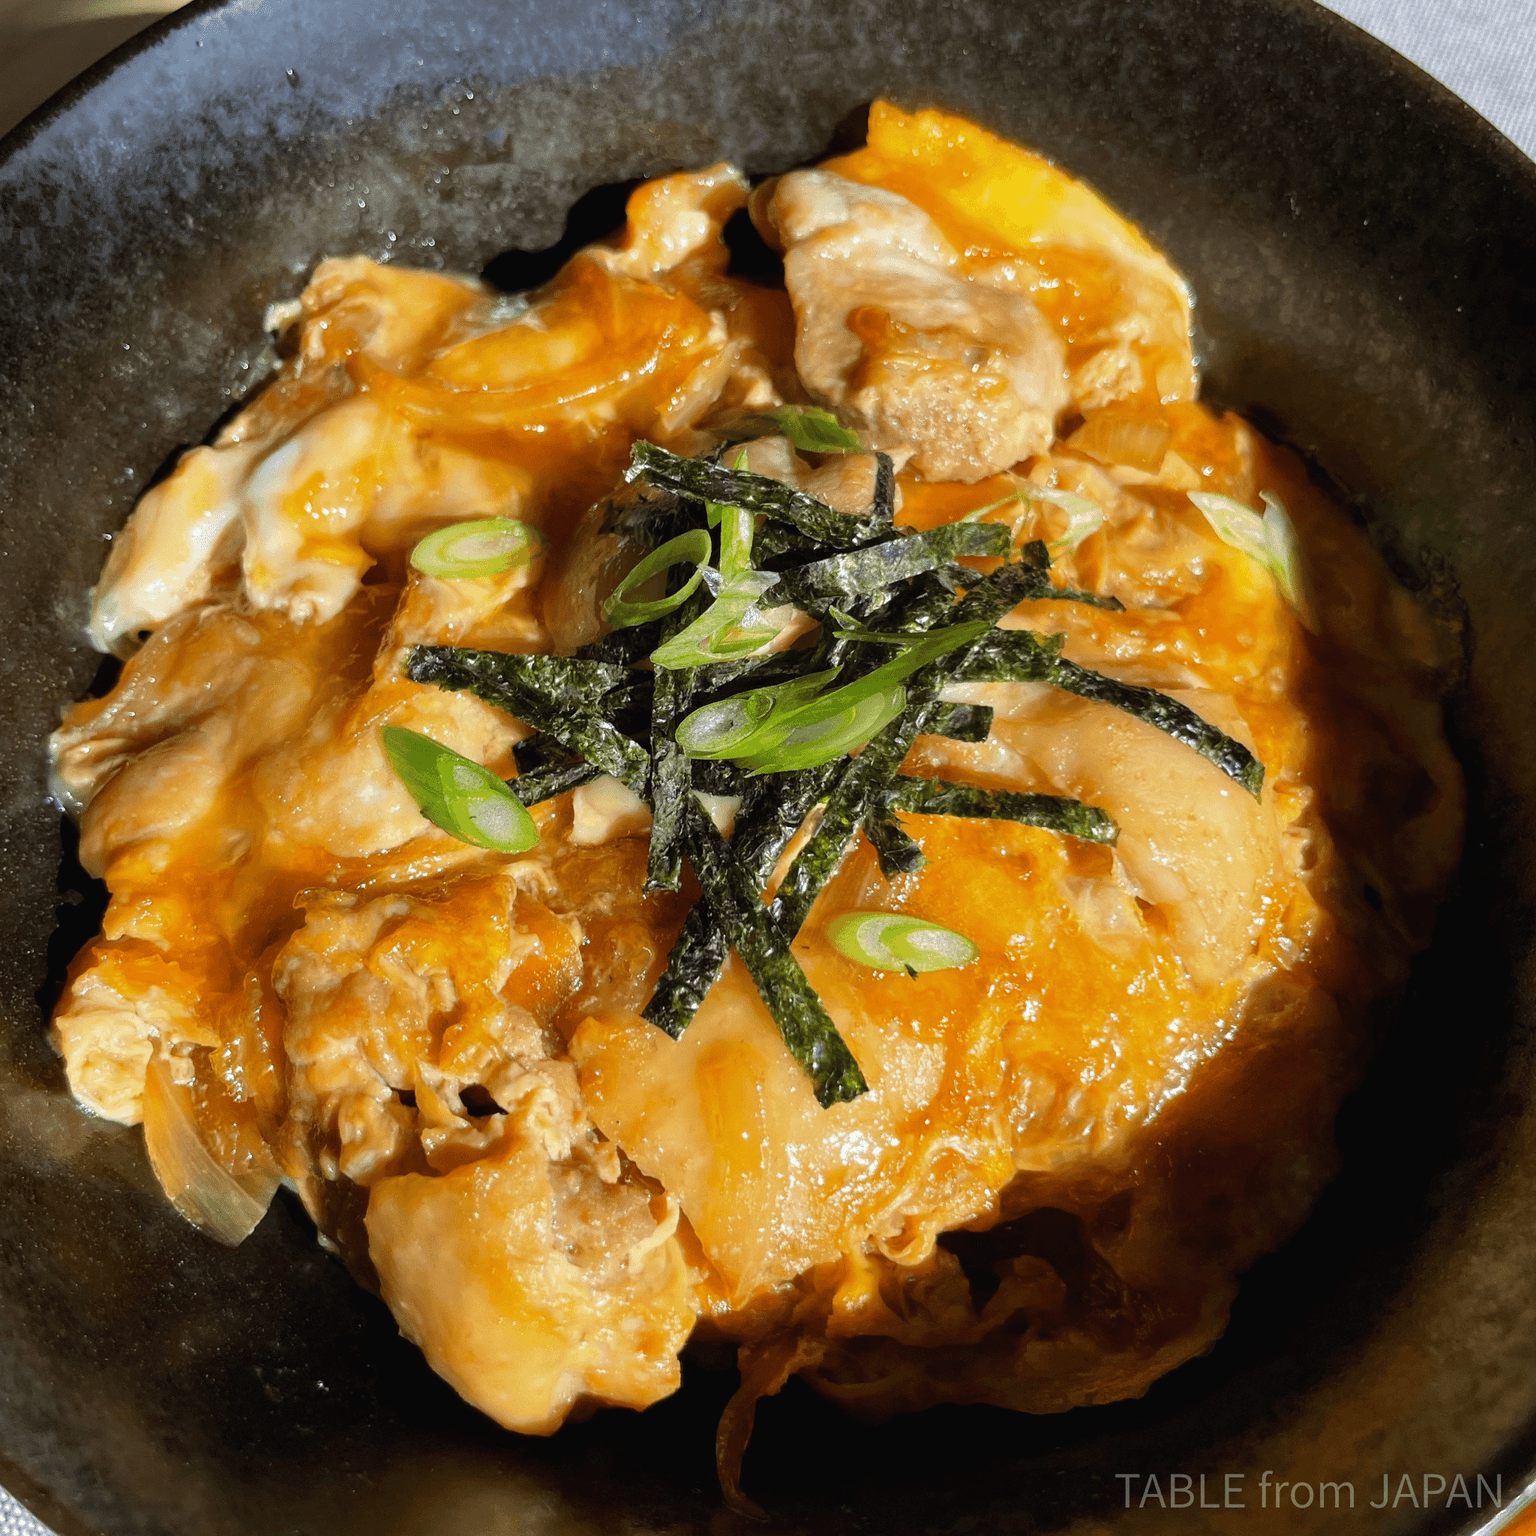
After adding the remaining egg, turn off the heat while the top is still soft. Let the oyakodon mixture sit for 1 to 2 minutes before serving. This short rest helps the egg absorb the dashi and settle slightly, so too much liquid does not run straight into the rice. Spoon it over warm Japanese rice and finish with shredded nori.
Disclosure: This page may include affiliate links. If you make a purchase through these links, we may earn a small commission at no extra cost to you. Thank you for supporting TFJ.
Shop Ingredients for This Recipe
Tomoka's Note
When I do not have much time, oyakodon is one of the meals I often make at home. Once you know the basic ingredients and the flow, it is a very easy rice bowl to put together. I personally like oyakodon made with dashi. It gives the sauce a gentle depth and boosts the flavour of the chicken and egg. I am a bit of a dashi lover, so this is the version I come back to most often. The small points that make a difference are: - slicing the chicken on a slight angle - resting it briefly with salt and sake - adding the soy sauce later - adding the egg in two stages I hope this becomes one of those simple, comforting rice bowls you can come back to on your busy days.
Serve It With
FAQ
Can I make oyakodon without dashi?
Yes, you can still make a delicious oyakodon without dashi. A common way is to rely on the natural flavour from the chicken, then season it with soy sauce and sugar or mirin. Dashi adds gentle savoury depth, but it is not the only way to make oyakodon at home.
How do I keep the egg soft?
Add the egg in two stages. This helps prevent the egg from overcooking, so the bottom sets while the top stays soft. Keep the heat at a gentle medium heat rather than very low heat. If the heat is too low, the egg can mix into the sauce instead of softly setting.
Can I use chicken breast instead of chicken thigh?
Yes. Oyakodon can be made with chicken breast too, and it gives the dish a lighter, leaner finish. Chicken breast can become dry more easily, but slicing it thinly on a slight angle helps keep it tender. Rubbing it with a little sake and salt before cooking also helps it stay soft and moist.
Do I need a special oyakodon pan?
No. A small frying pan works well. If you are cooking one serving, a small 20 cm pan is a good size because it helps keep the topping together.