
After becoming a parent, I started noticing something lovely around me: quite a few Japanese families make natto at home. When another Japanese mum shared some of her homemade natto with me, it was so fresh and delicious that I started thinking, maybe I should try making it too, so I gave it a go here in Australia.
This was my first time making natto. I used a yogurt maker, frozen natto as a starter and dried soybeans, and followed the process carefully. Here, I'm sharing the method I used, what surprised me, and the small things I would pay attention to next time.
Homemade natto tastes fresh and gentle, and I like knowing exactly what goes into it.
Homemade natto is not difficult. In fact, it was surprisingly easy once I understood the steps, but it does need patience and clean equipment. The main work is soaking and cooking the soybeans until they are very soft, then keeping them warm while the natto starter does its job.
Natto is Japanese fermented soybeans. It is usually eaten with warm rice and has a sticky, stringy texture and a strong savoury smell.
For many Japanese people, natto is a familiar food from childhood. It is something we eat with rice, and that sticky texture is actually part of what makes it delicious.
If you did not grow up with natto, though, the smell and texture can feel surprising at first. I think it may be a little like how I felt when I first smelled Vegemite in Australia. It was unfamiliar to me, but for many Australians it is a normal, comforting taste from childhood.
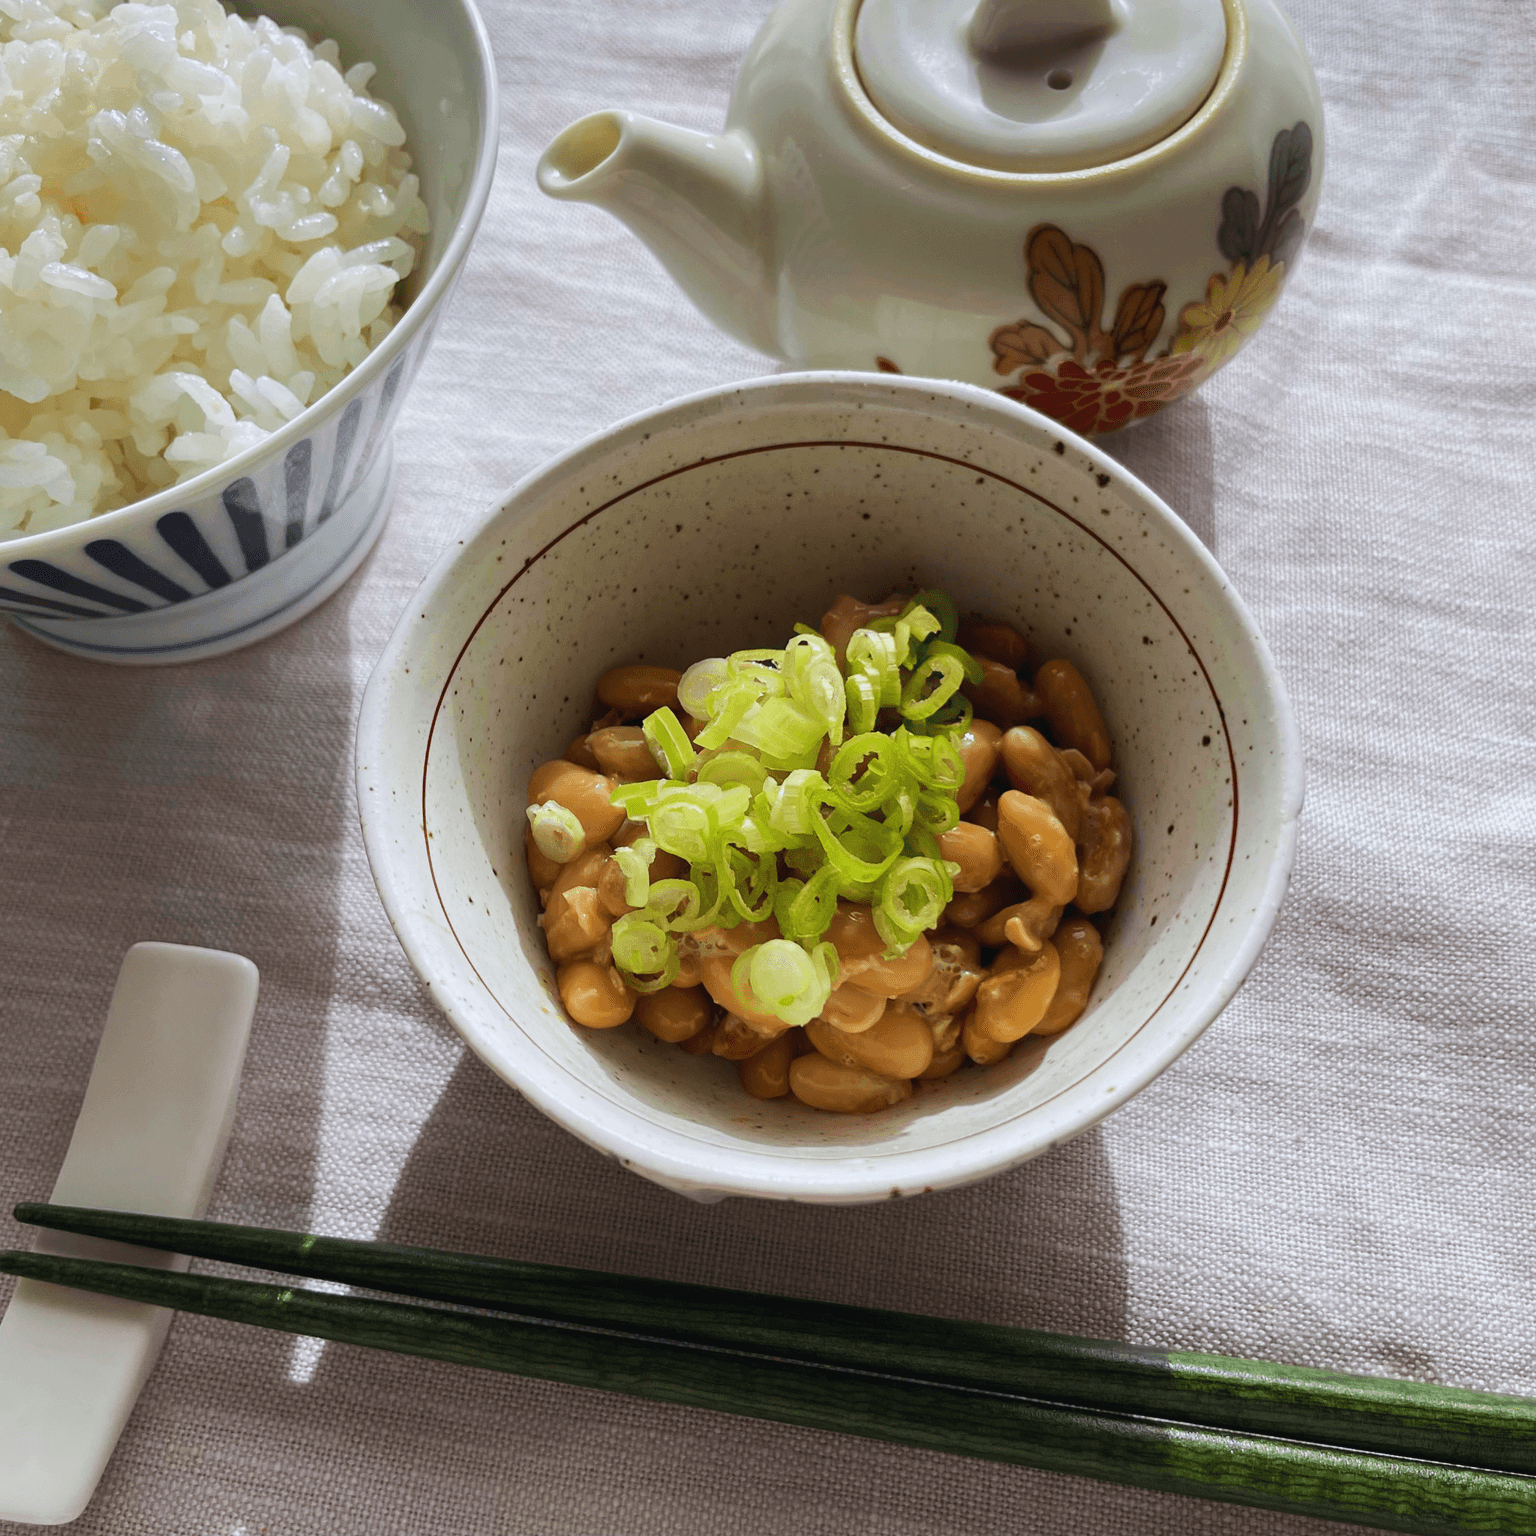
In Japan, natto is often eaten with soy sauce or tare, karashi mustard and chopped spring onion.
Part of the reason I wanted to try was simple: we eat natto often at home, and my children love it too. In Australia, I usually need to go to a Japanese grocery store to buy it, and if I buy it regularly, the cost can add up over time.
A small amount of dried soybeans could become a generous batch, and I liked the idea of portioning it and keeping some in the freezer for easy natto rice. But more than anything, I was curious to see if it would work, and whether homemade natto would taste fresher and different from the packaged ones.
There are six main stages to making natto:
- Wash the soybeans
- Soak the soybeans
- Cook the beans until very soft
- Mix the hot beans with the natto starter
- Keep the beans warm to ferment
- Rest the finished natto in the fridge
- 250 g dried soybeans
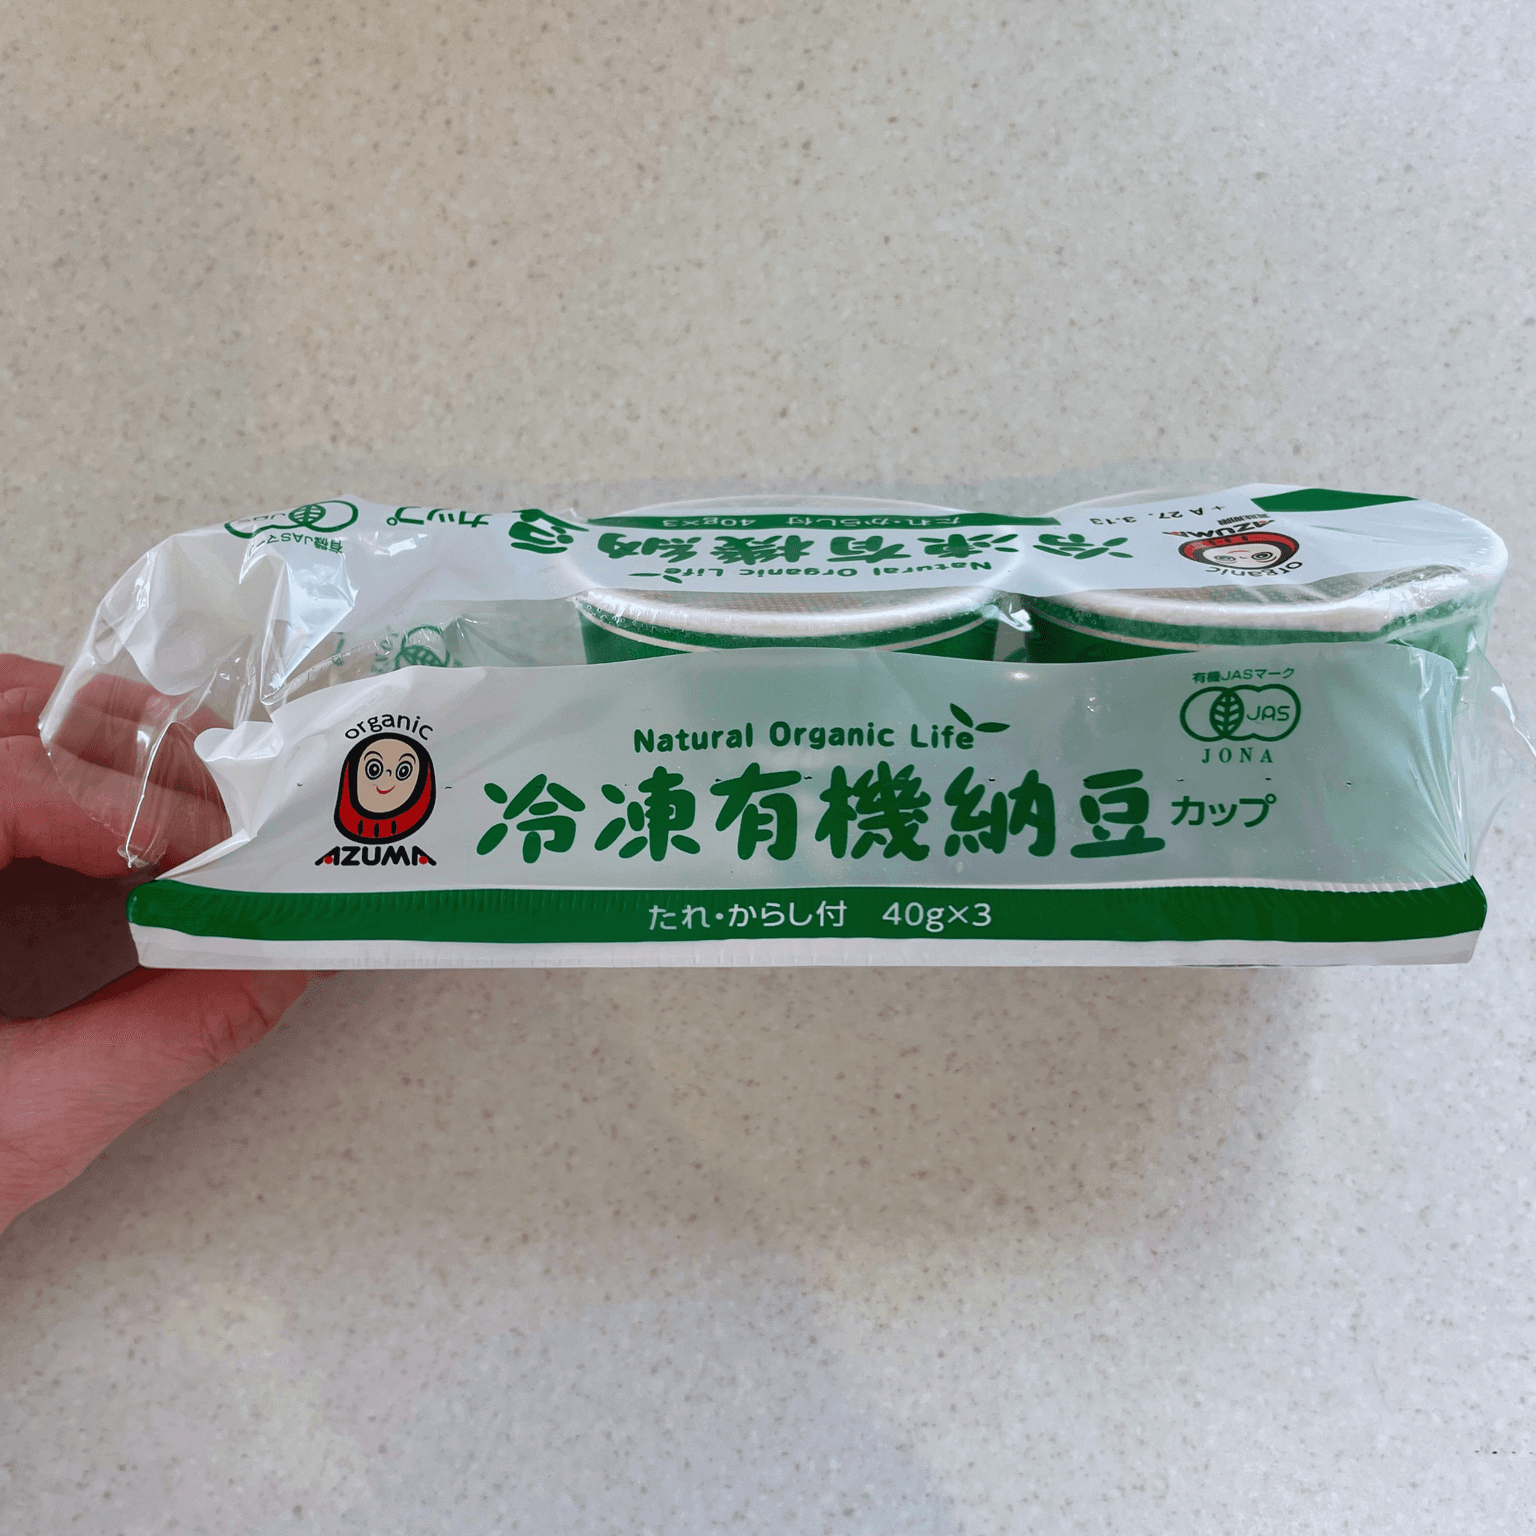
- About 1/3 pack frozen natto, used as the starter
- A small splash of boiling water
For the soybeans, I usually buy dried soybeans from Japanese grocery stores, or order organic soybeans online. You may also find them at wholefood shops or health food stores in Australia.
- A yogurt maker
- A large pot for cooking the soybeans
- A clean spoon
- Paper towel or a clean kitchen cloth
A yogurt maker is useful because natto needs steady warmth for a long time.
Yogurt maker I use

Put the dried soybeans in a large bowl and wash them well. Rub them gently between your hands, but not so hard that the skins break.
This helps wash away dust, dirt and anything on the surface of the beans. A few loose skins are fine. Remove any that float to the surface.
Soak the washed soybeans in plenty of water. Use at least four times the weight of the soybeans in water. For 250 g dried soybeans, 1 litre of water or more is a good guide.
Soak them for at least 15 hours. When the beans are fully soaked through, they change from a round shape to a plump oval shape.
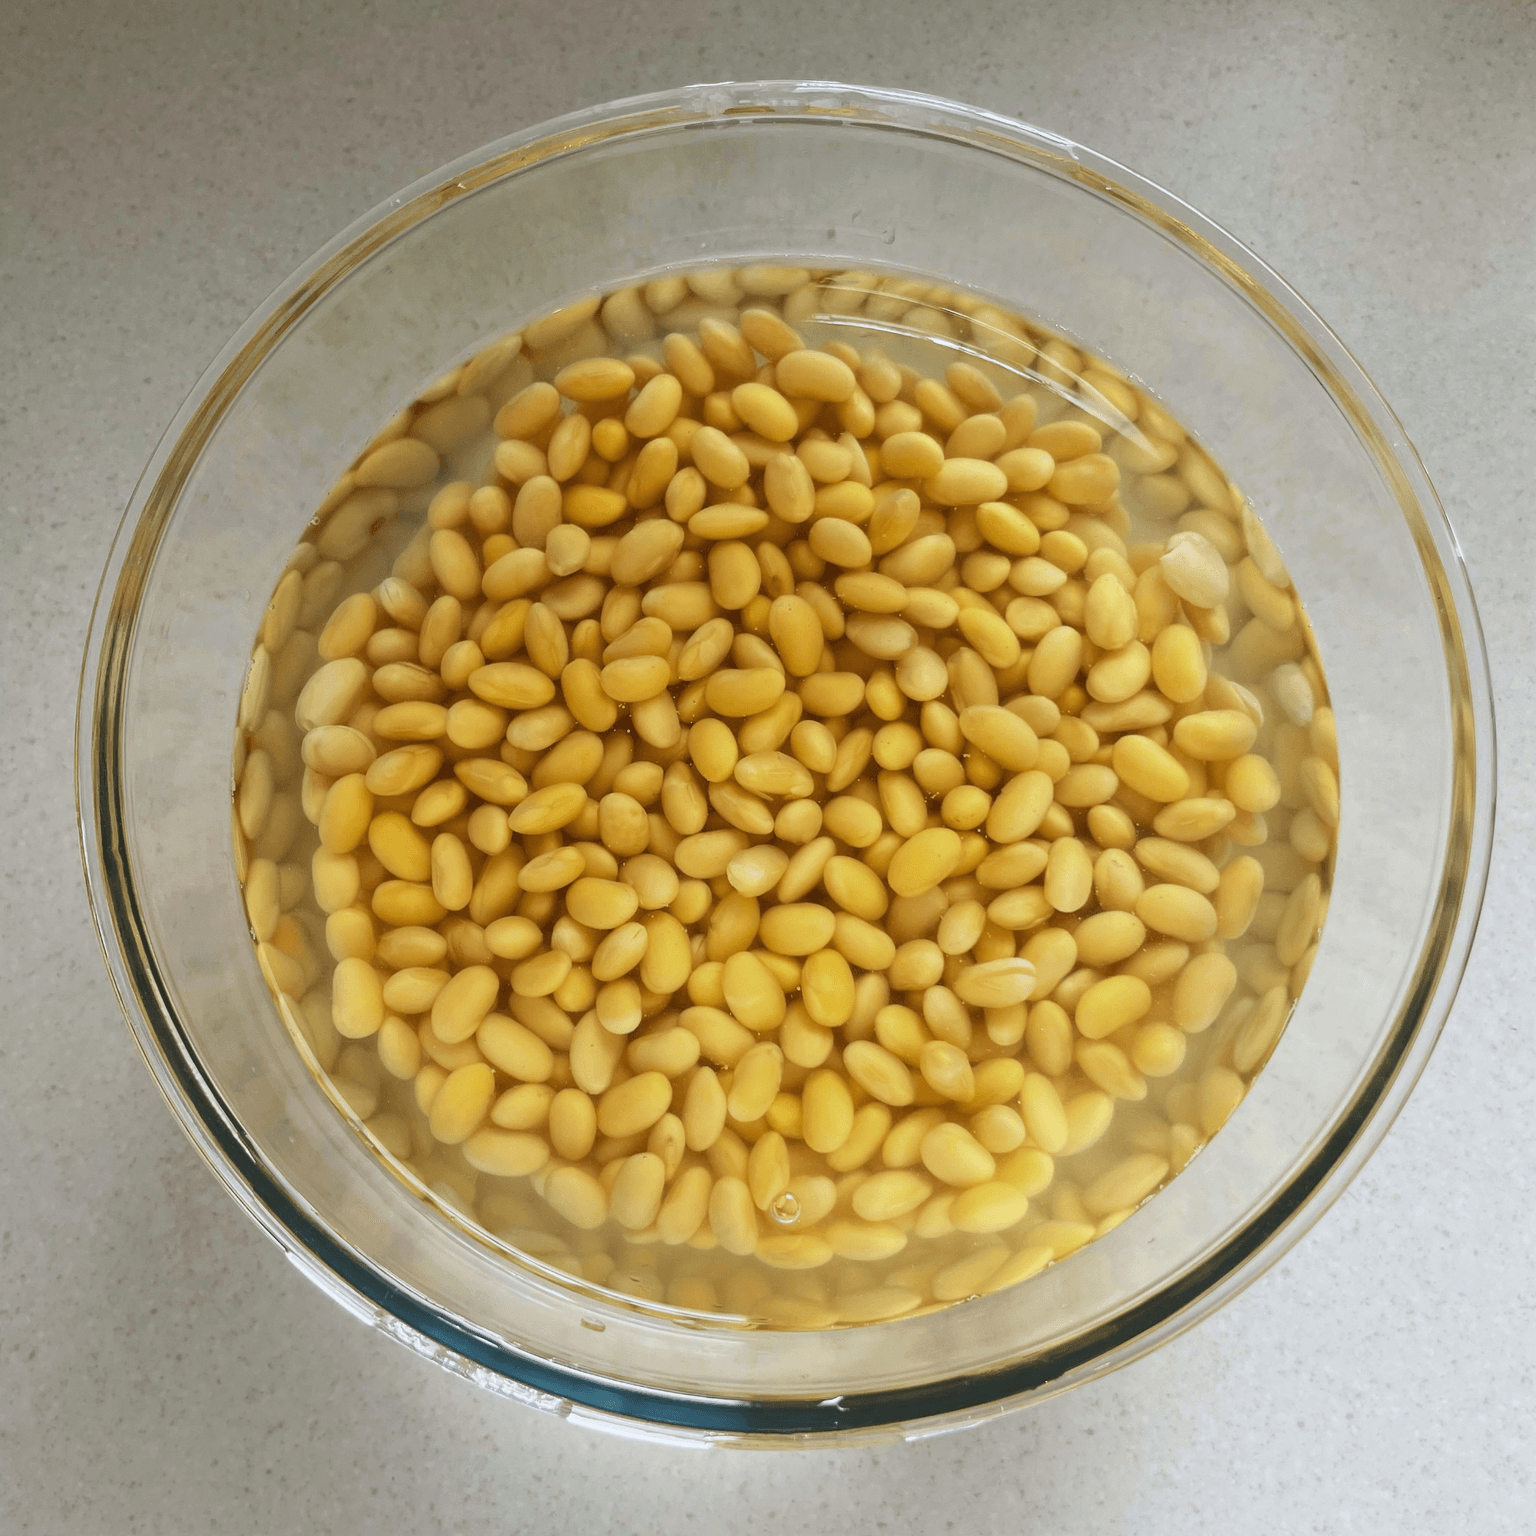
Dried soybeans swell a lot as they soak, so use a large bowl. They can become about 2.5 to 3 times larger in volume. For this batch, I soaked the beans at room temperature for about 18 hours in June.
Drain the soaking water, then put the soaked beans in a pot with fresh water. Start over high heat and bring it to a boil.
Once it boils, a lot of white foam will rise to the surface. Lower the heat to medium and skim off the main foam carefully with a ladle.

After the main foam is removed, lower the heat so the beans are gently moving in the pot. Cover the surface with paper towel like a simple drop lid. This helps catch any extra foam, keep the beans under the water, and stop the surface from drying out.
One thing I noticed is that the beans can start to stick to the bottom of the pot at the beginning. While skimming off the foam, it helps to gently stir from time to time, scraping the bottom of the pot with a spatula so the beans do not catch.
Try not to stir too roughly, and keep the heat gentle after the first boil. If the heat is too strong or you stir too much, some soybean skins may come loose. A little loose skin is fine, though. I just fermented it together with the beans.
This time I cooked the soybeans in a pot, but next time I would also consider using a pressure cooker or steaming them. Steaming would take longer, but it avoids the problem of beans sticking to the bottom and may give the finished natto a richer flavour.
If the water level drops and the beans start to show above the surface, add boiling water as needed.
Keep cooking until the beans are very soft. If you are cooking them in a pot, 3-4 hours is a useful guide, depending on the beans. For my batch, it took about 3 hours.
The beans are ready when you can press one easily between your fingers without much effort. For natto, it is better for the beans to feel a little too soft.
Before the beans finish cooking, sanitise the container, spoon and any utensils that will touch the beans by pouring boiling water over them. Let them drain on a clean surface.
Put about 1/3 of a frozen natto pack into your clean container. Add a small splash of boiling water and mix well with a clean spoon until it loosens and breaks up. This is the starter for the batch.

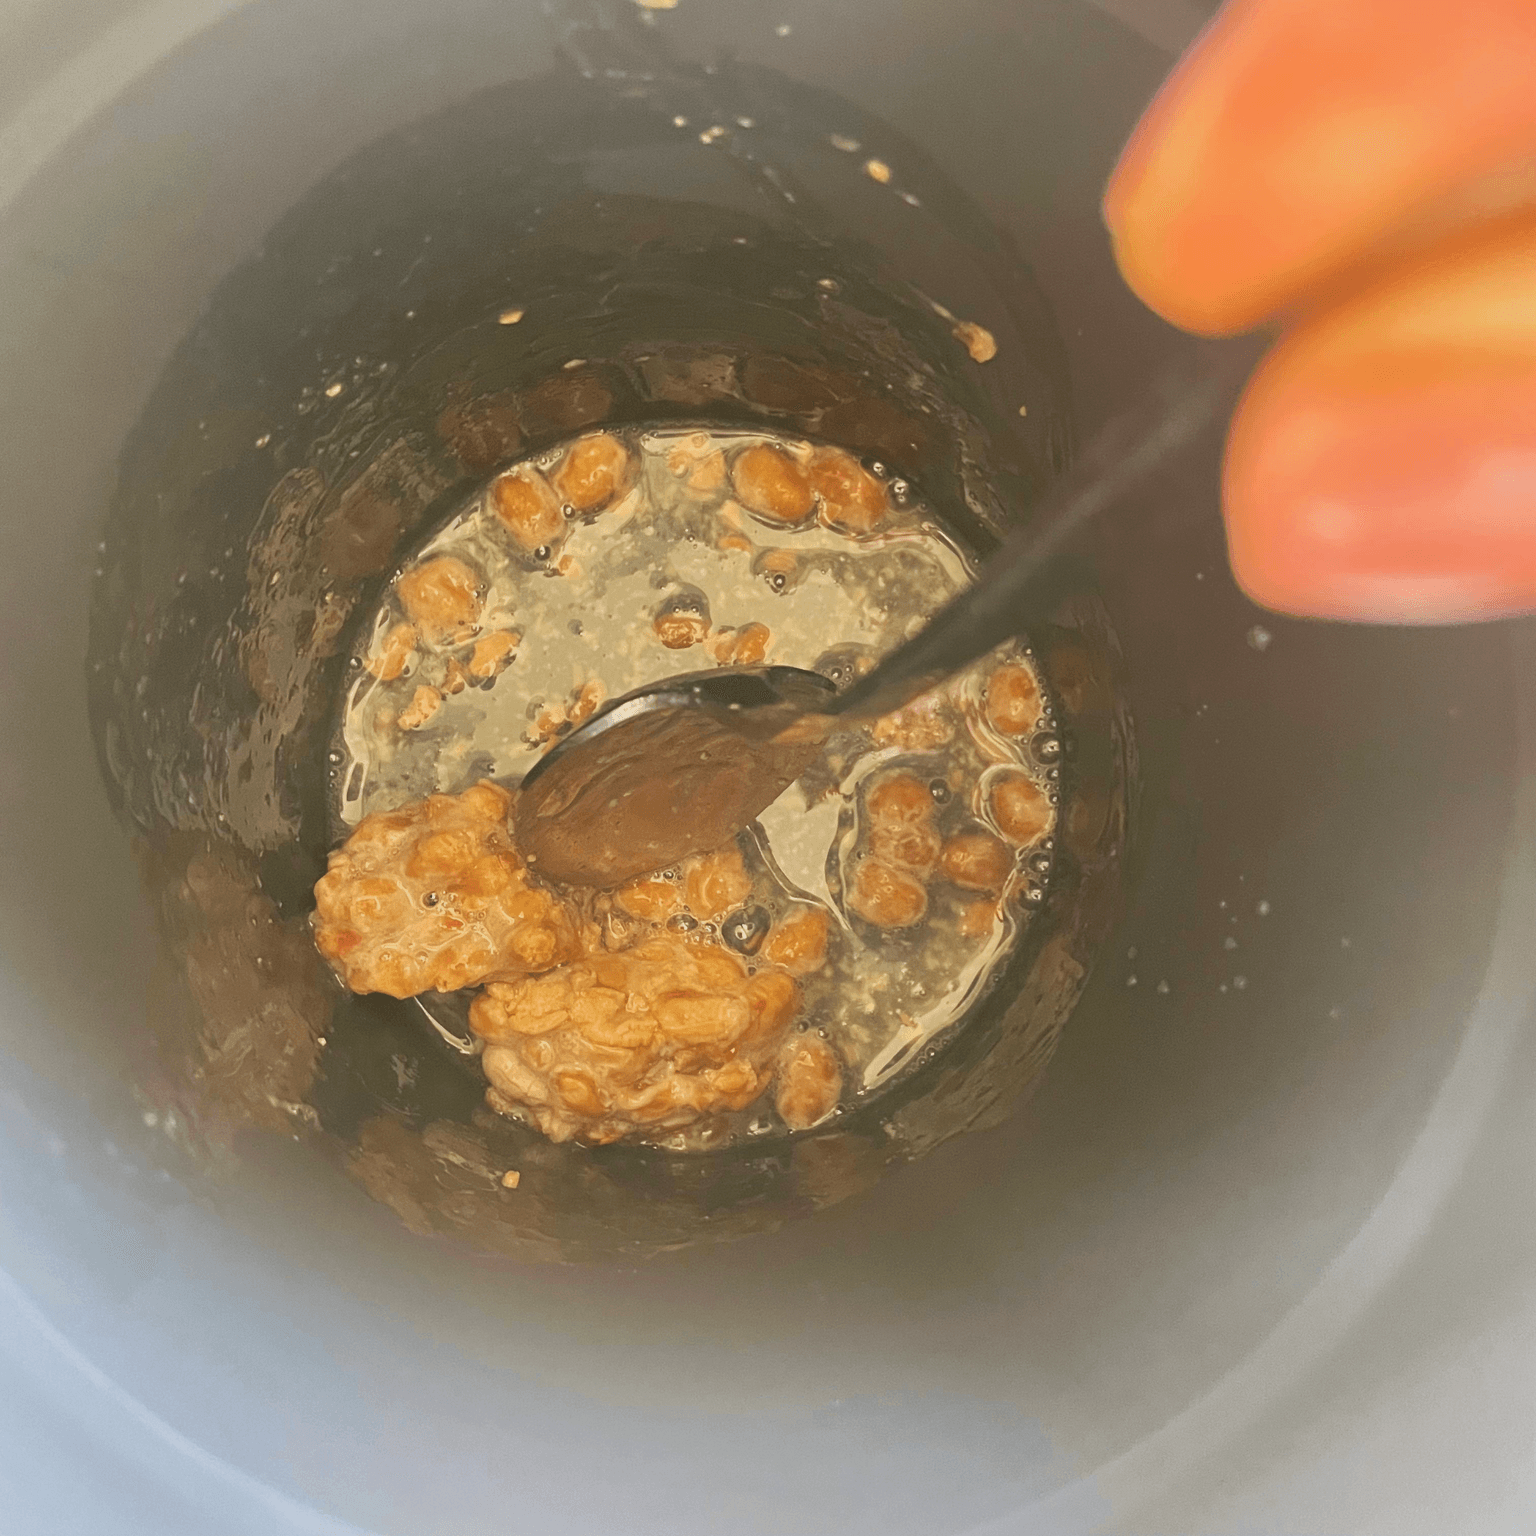
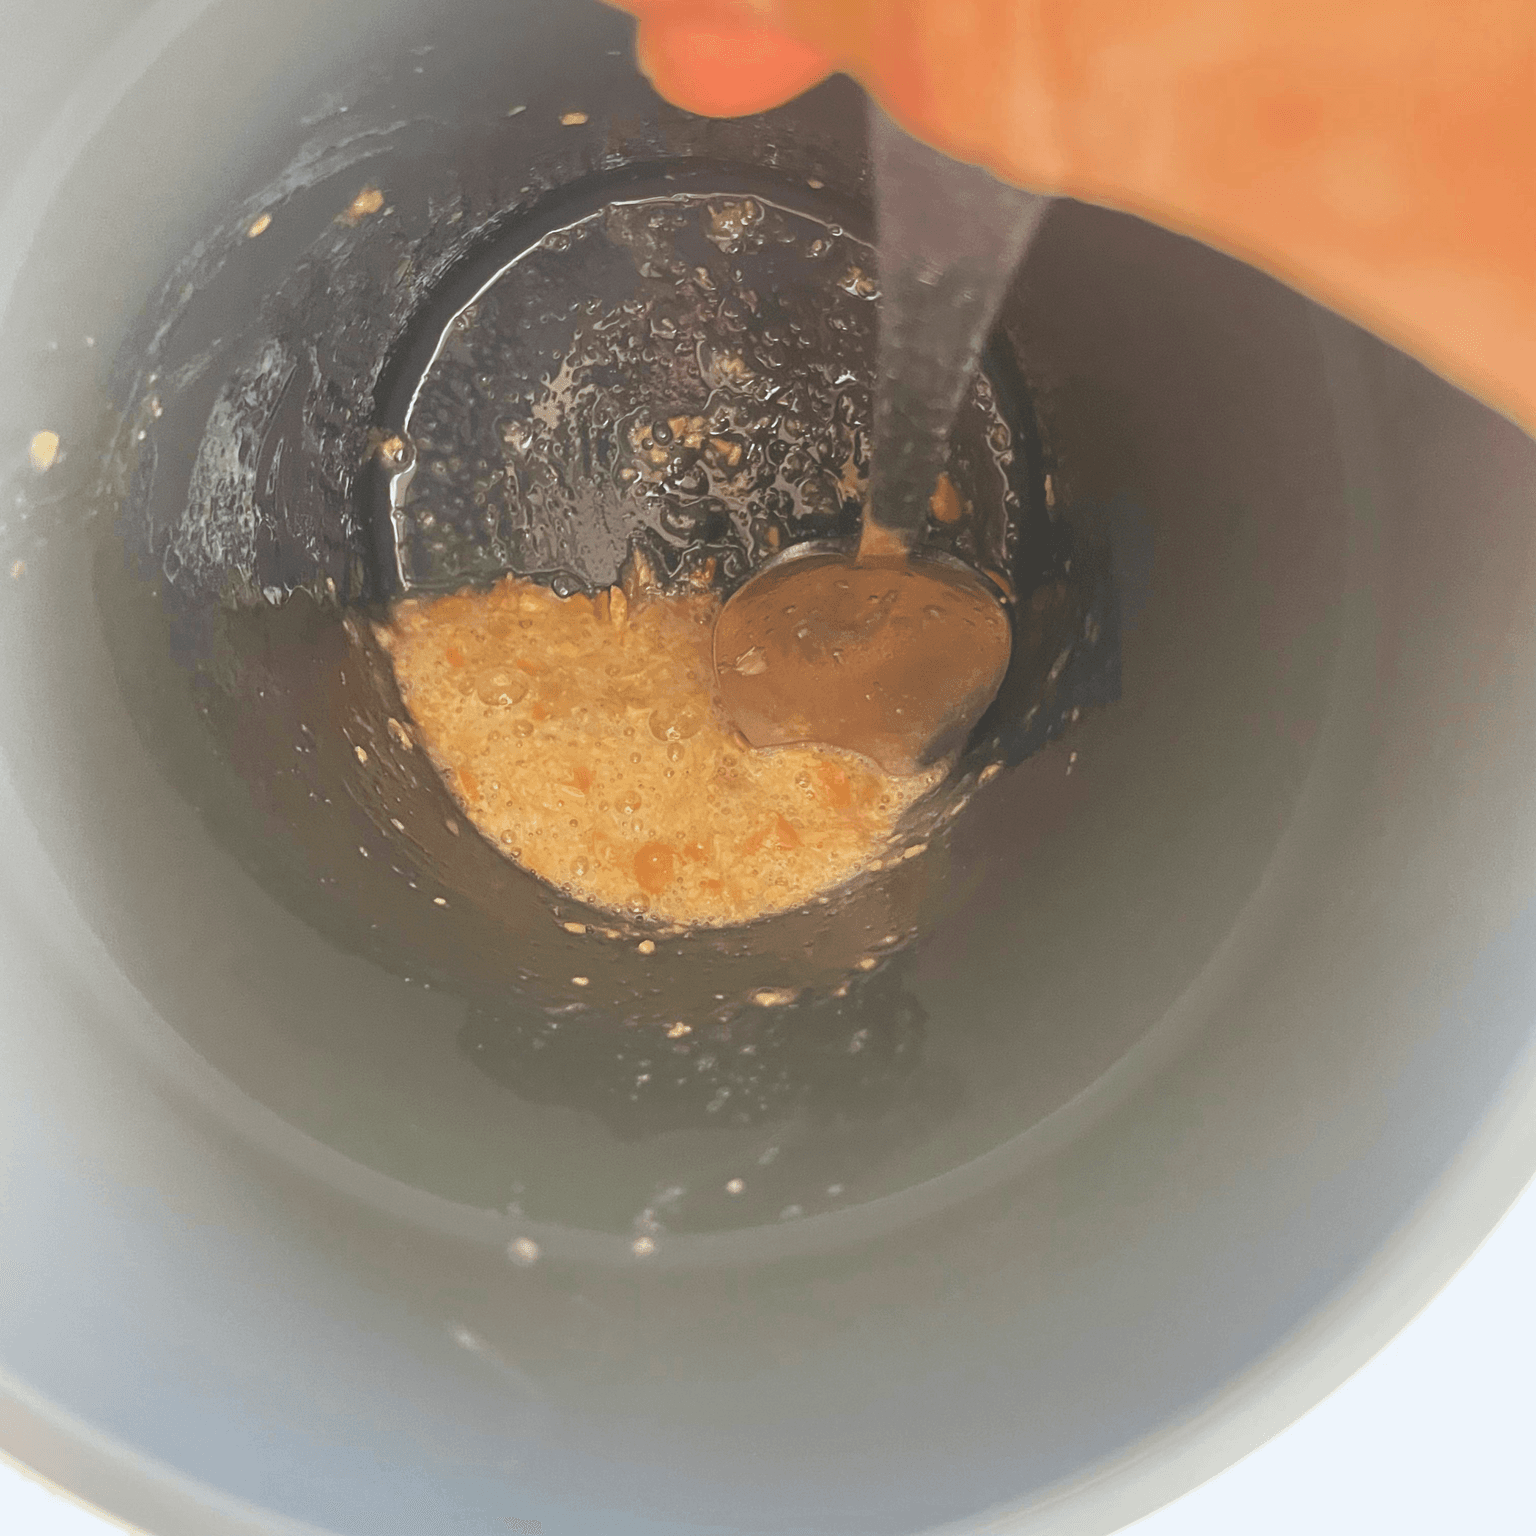
Drain the cooked soybeans while they are still hot and work straight away. I find it easier to add half of the beans to the container with the starter first, then mix well so the starter coats them evenly. Once they are mixed, add the remaining half and mix well again.
Try to have everything ready so you can do this as soon as the beans are cooked. Working while the beans are still hot helps give the natto starter a good start.
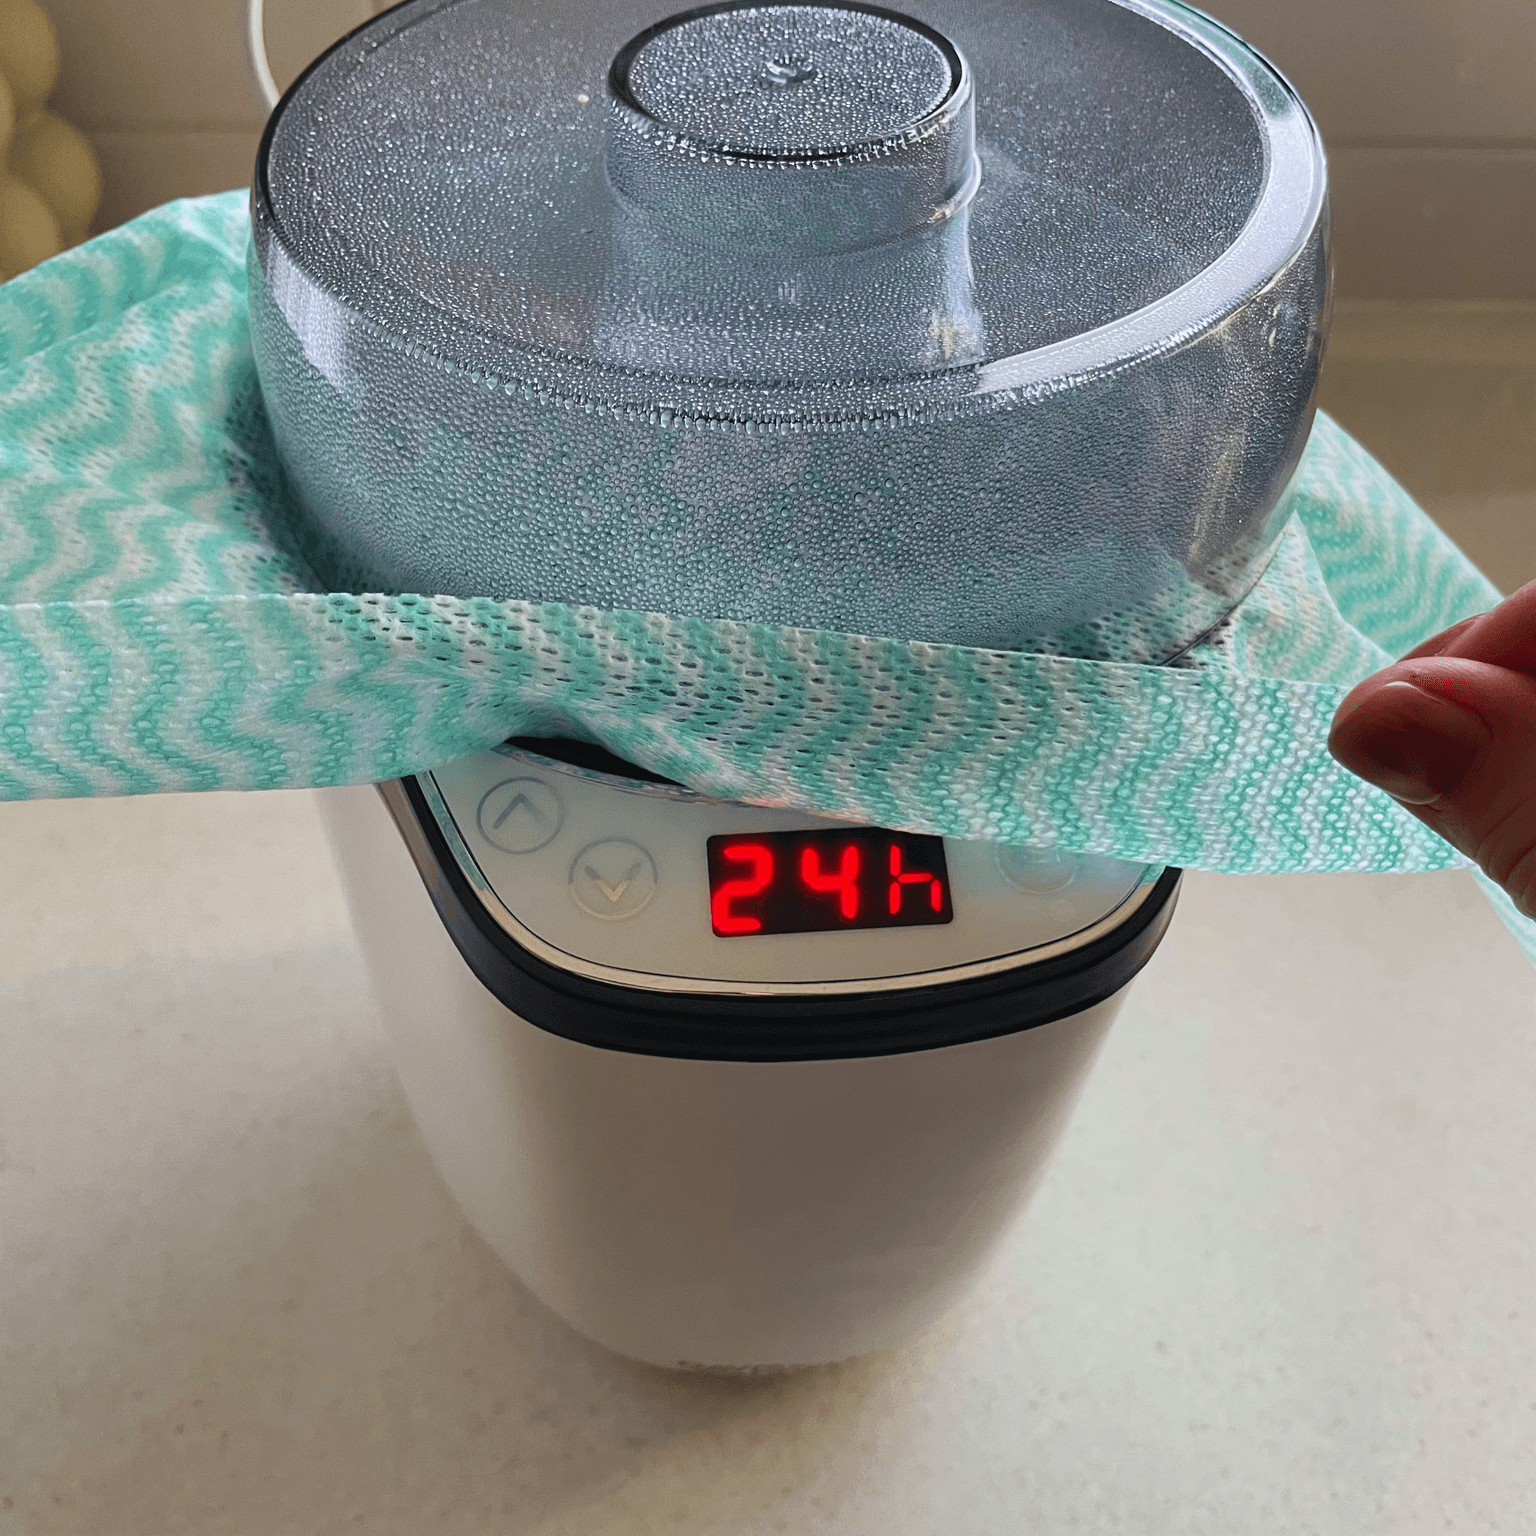
Cover the container with paper towel or a clean kitchen cloth. Do not use the inner lid.
Place the container in the yogurt maker. My yogurt maker has a natto setting, so I follow the instructions and set it to 42℃ for 24 hours.
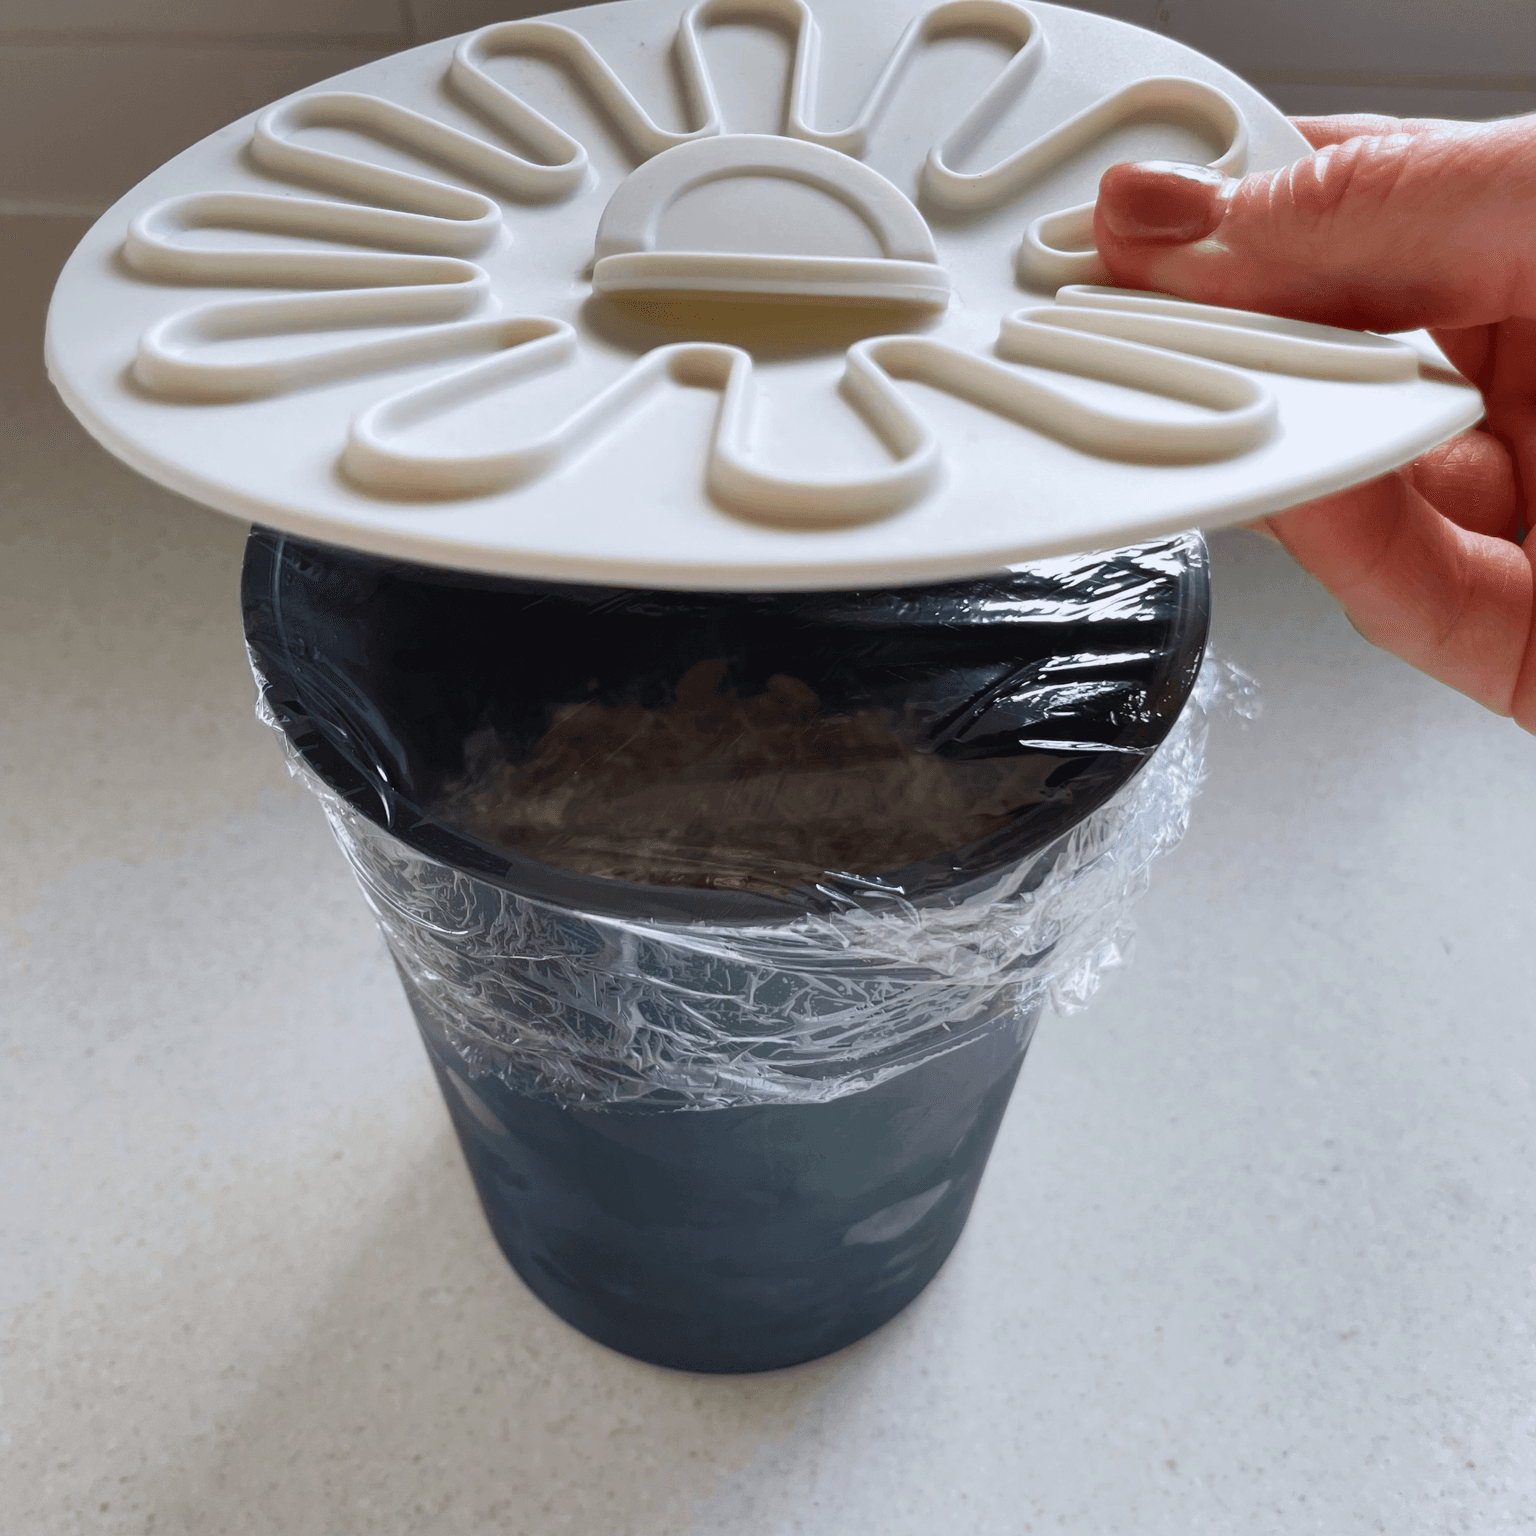
Once the 24 hours are finished, seal the container and move it to the fridge. Rest for 1-2 days before eating.
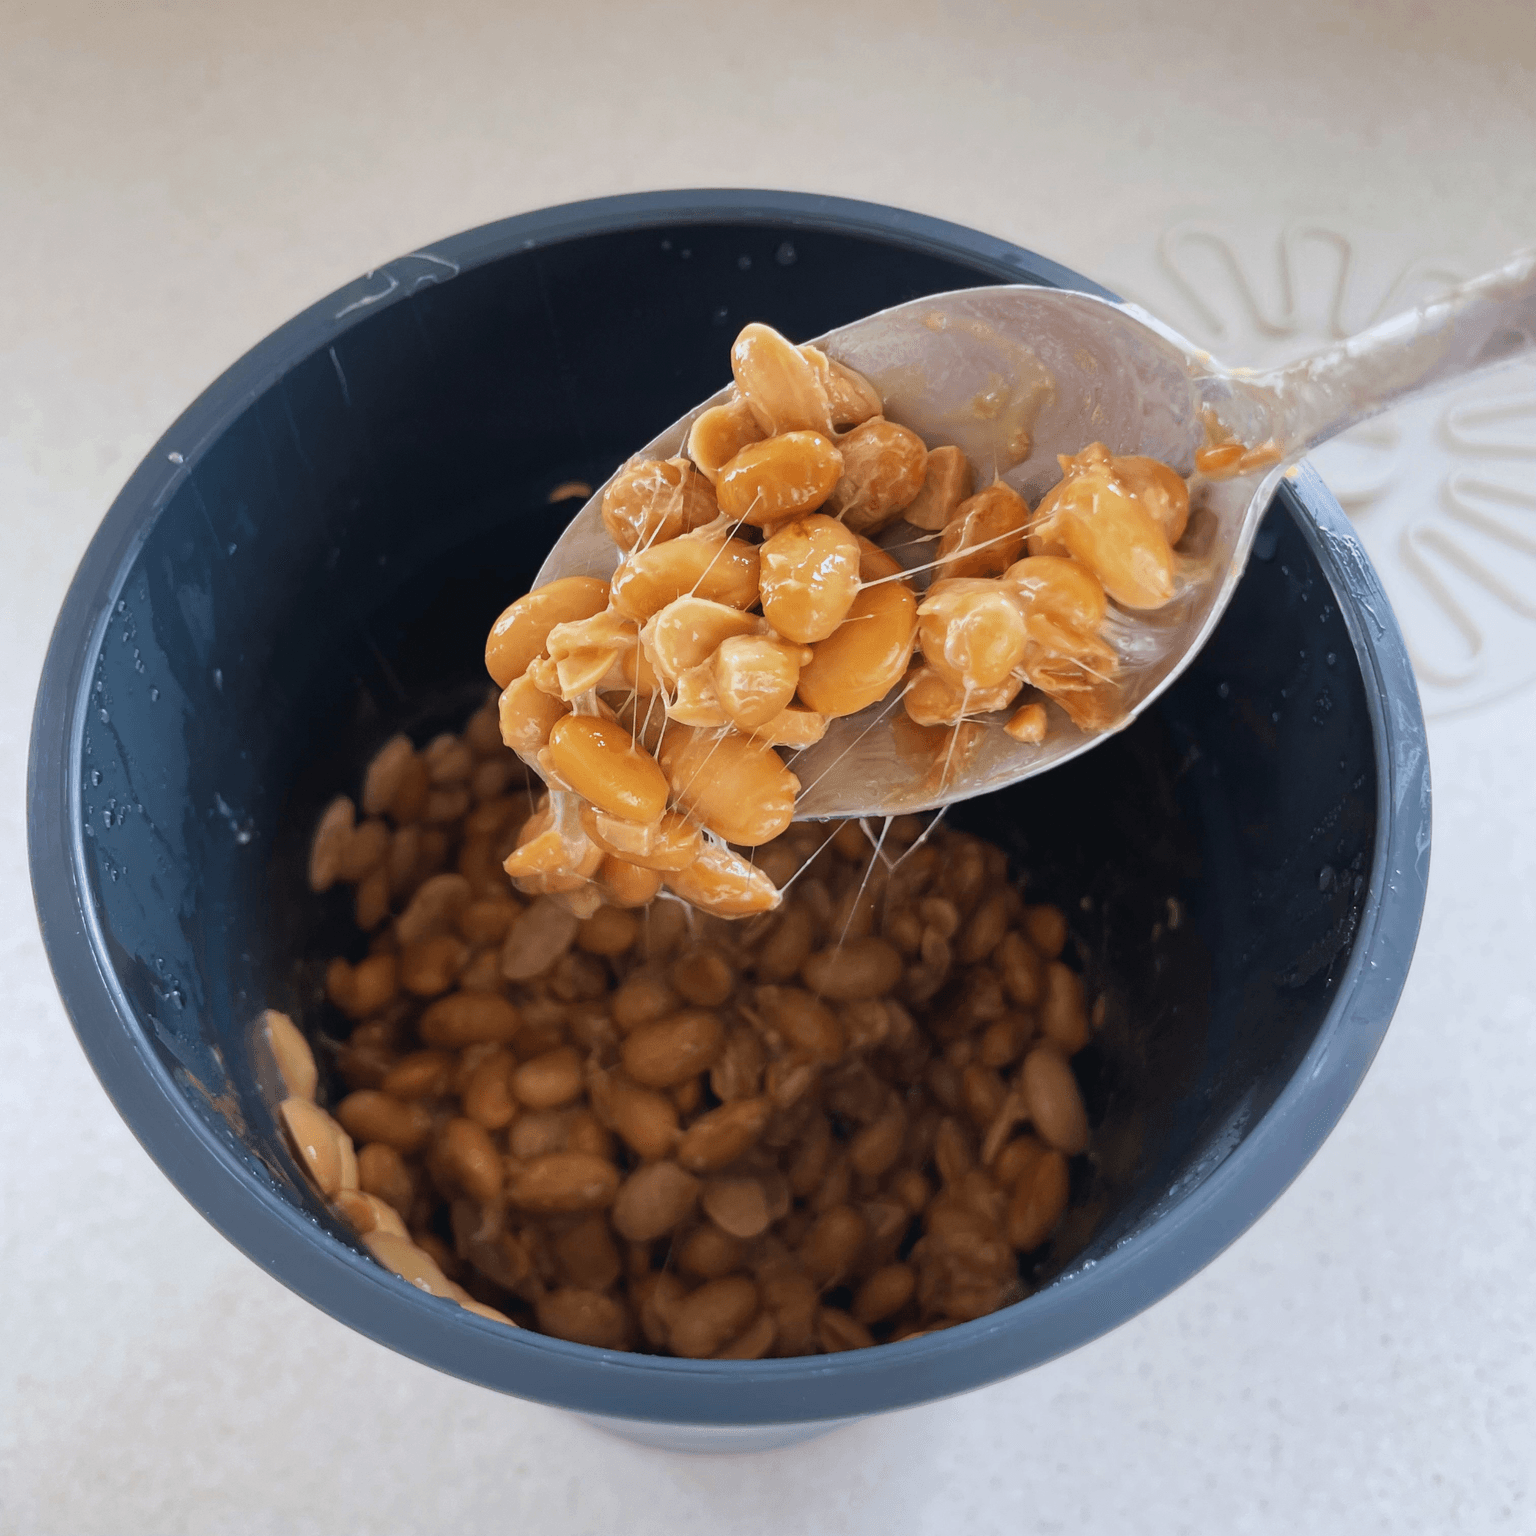
Freshly fermented natto can have a sharp smell after 24 hours. I tasted a tiny bit after one day, and I could still feel that fresh fermented aroma coming through my nose as I ate it. So for this batch, I let it rest for two days in the fridge.
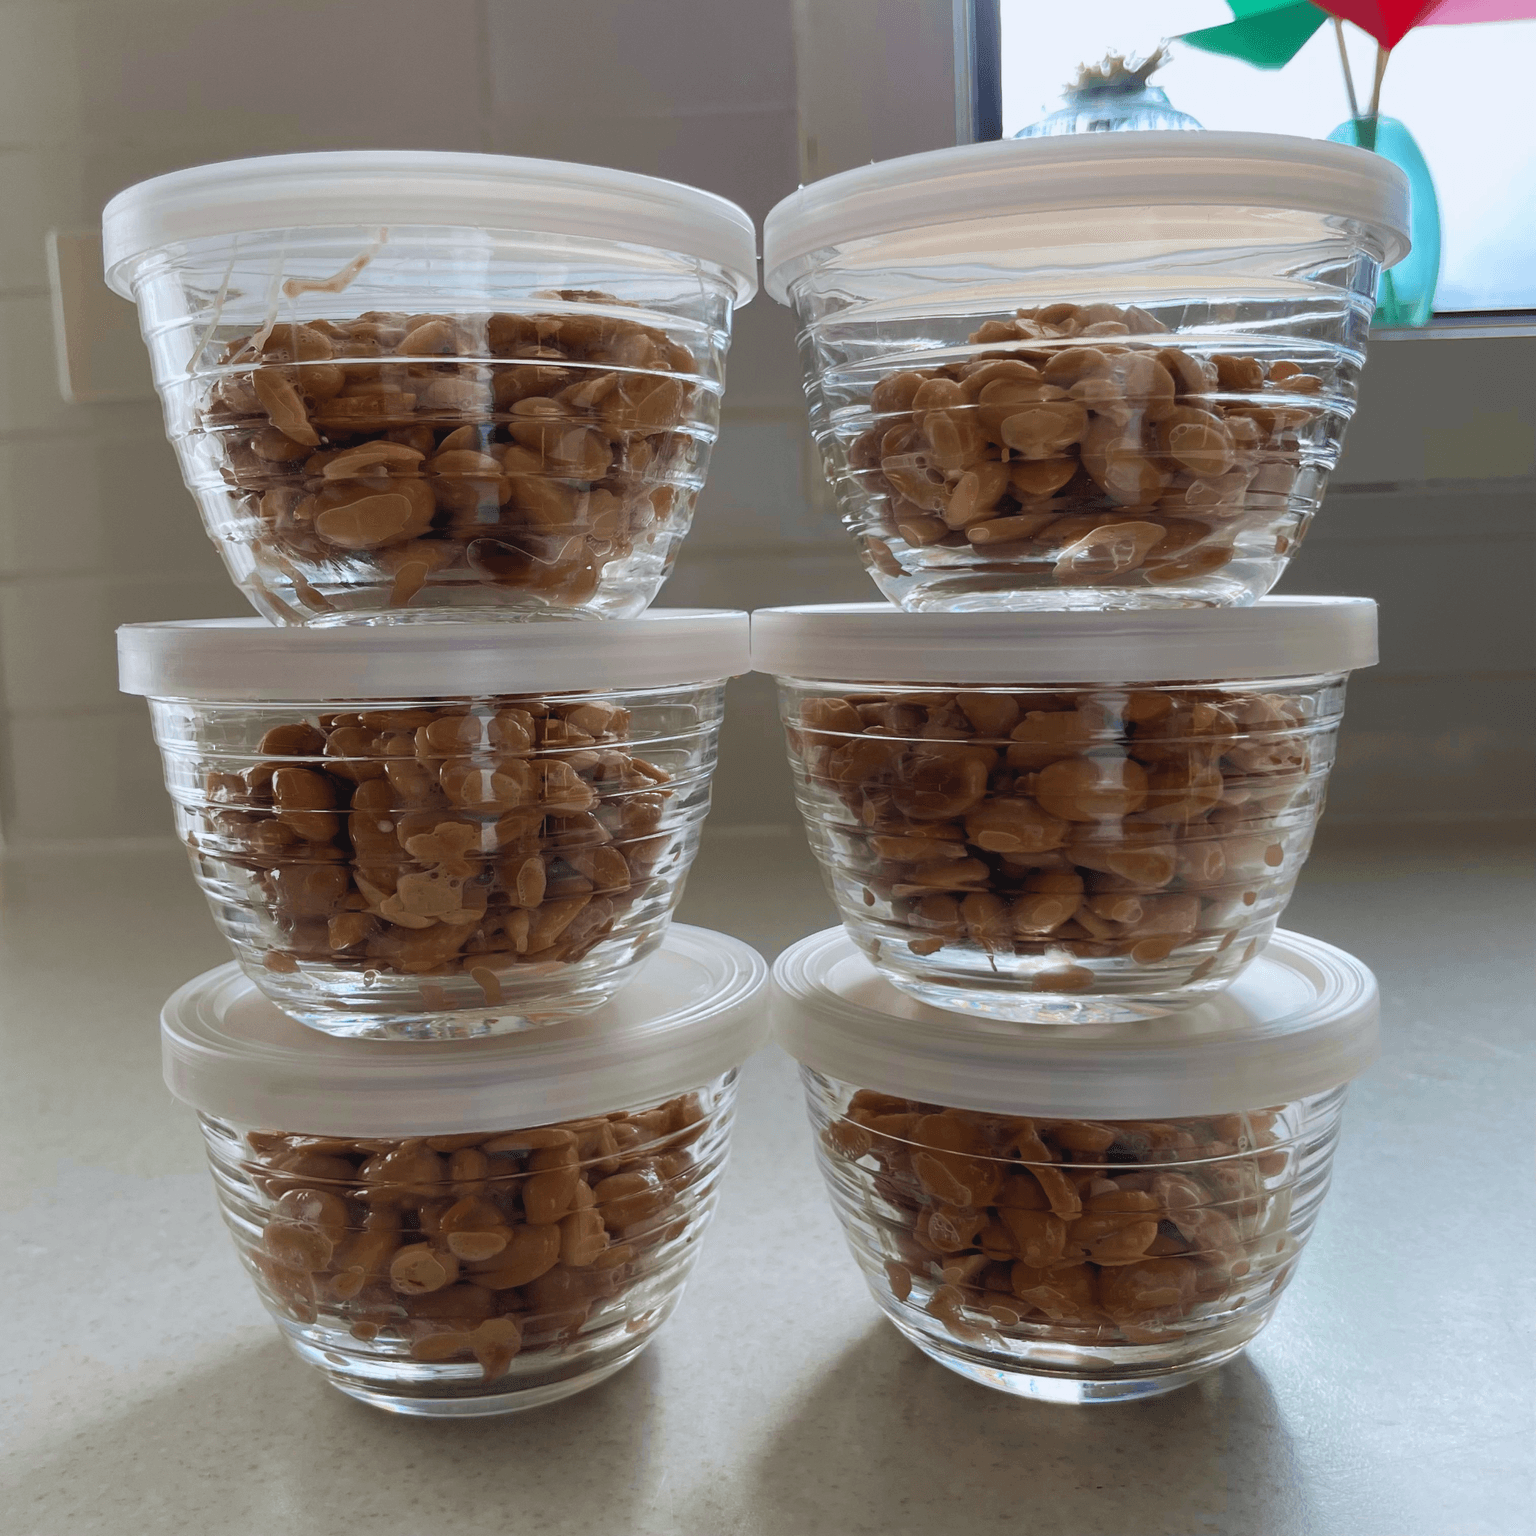
After two days, the aroma felt more settled and the flavour was gentler. Then I portioned the natto into airtight containers so I could keep some in the fridge and freeze the rest. The beans had a thin whitish film, the familiar natto smell and became sticky when stirred. My honest first thought was, "This is delicious."
- Use plenty of water when cooking the beans in a pot.
- After boiling and skimming off the foam, keep the heat very gentle.
- Use paper towel like a simple drop lid, and keep the pot lid slightly open.
- If the water level drops, add boiling water as needed.
- Have the starter ready so you can mix it with the beans while they are still hot.
After the natto has rested, keep what you will eat soon in the fridge, and freeze the rest.
To use frozen natto, move one portion to the fridge beforehand and let it thaw gently. I recommend thawing it naturally rather than heating it.
Small glass containers I use for portioning natto
The simplest way is with warm Japanese rice. Put the natto in a small bowl, add soy sauce or tare, then mix well with chopsticks until it becomes sticky and stringy. I usually make a simple tare by gently simmering a little soy sauce and mirin together, then letting it cool.
I like adding chopped spring onion and a little karashi mustard if I have it.
If you are serving natto with rice, this guide may help too.
Keep everything clean, and use clean containers and utensils. Natto has a strong smell, but if the beans look unusual, smell wrong, or make you unsure, it is better not to eat that batch.
Making natto at home takes a little planning, but if you keep the soybeans clean and warm, it is a very doable kitchen project. If you already enjoy natto, I hope you try it at least once. Homemade natto has a fresh flavour that feels quite different from store-bought natto.
- Tomoka
FAQ
Is natto healthy?
Natto is a traditional Japanese fermented soybean food, and in Japan it is loved as a healthy everyday food. It is rich in protein and is also known for vitamin K. If you take blood-thinning medication such as warfarin, or if you have been told to manage vitamin K carefully, please check with your doctor before eating natto regularly.
Why are the soybean skins coming off?
This can happen if the heat is too strong, if you add cold water while the beans are cooking, or if the beans were not soaked long enough. Keep the beans at a very gentle simmer so they are not knocking against each other too much. If you need to add more water, add boiling water, not cold water. Also make sure the beans are soaked well before cooking, about 15 hours in warmer weather or closer to 20 hours in cooler weather.
Do I need a yogurt maker?
You need something that can keep a steady warm temperature for 24 hours. I find a yogurt maker the easiest option because it keeps the temperature stable.